Just Garlic

JustGarlic1

I’ve mentioned quite often on this blog that working in event industry is challenging. Time flies too fast, so many instant jobs can come quickly, deadlines everyday, working over night. All of that can make you such a loser if you can not keep your life balance. It happens in me, until now I still struggling to keep my life balance. If I have to work overnight for two days (average time is 16 hours without sleep :| times two! Yes, I’ve done so many times!) I have to make sure that I have enough energy from food such an example, if not, I will collapse (God for bit! :|). Sadly, I have no choice if I have to eat junk food among my endless job. It isn’t easy for me that I have to fill energy, in the other hand I realize that they aren’t good if I take too much. By the time I’m on ‘me-time’ at home, cooking is such a way to pay my bill from those junk. Excuse for this long and tacky preface :P.

On this post I will share a simply light soup (or broth?) that I love to cook. Believe me this is so much better and easier than instant noodles if I have to compare with. A part of how simply it is, I love the main ingredient ; Garlic!.

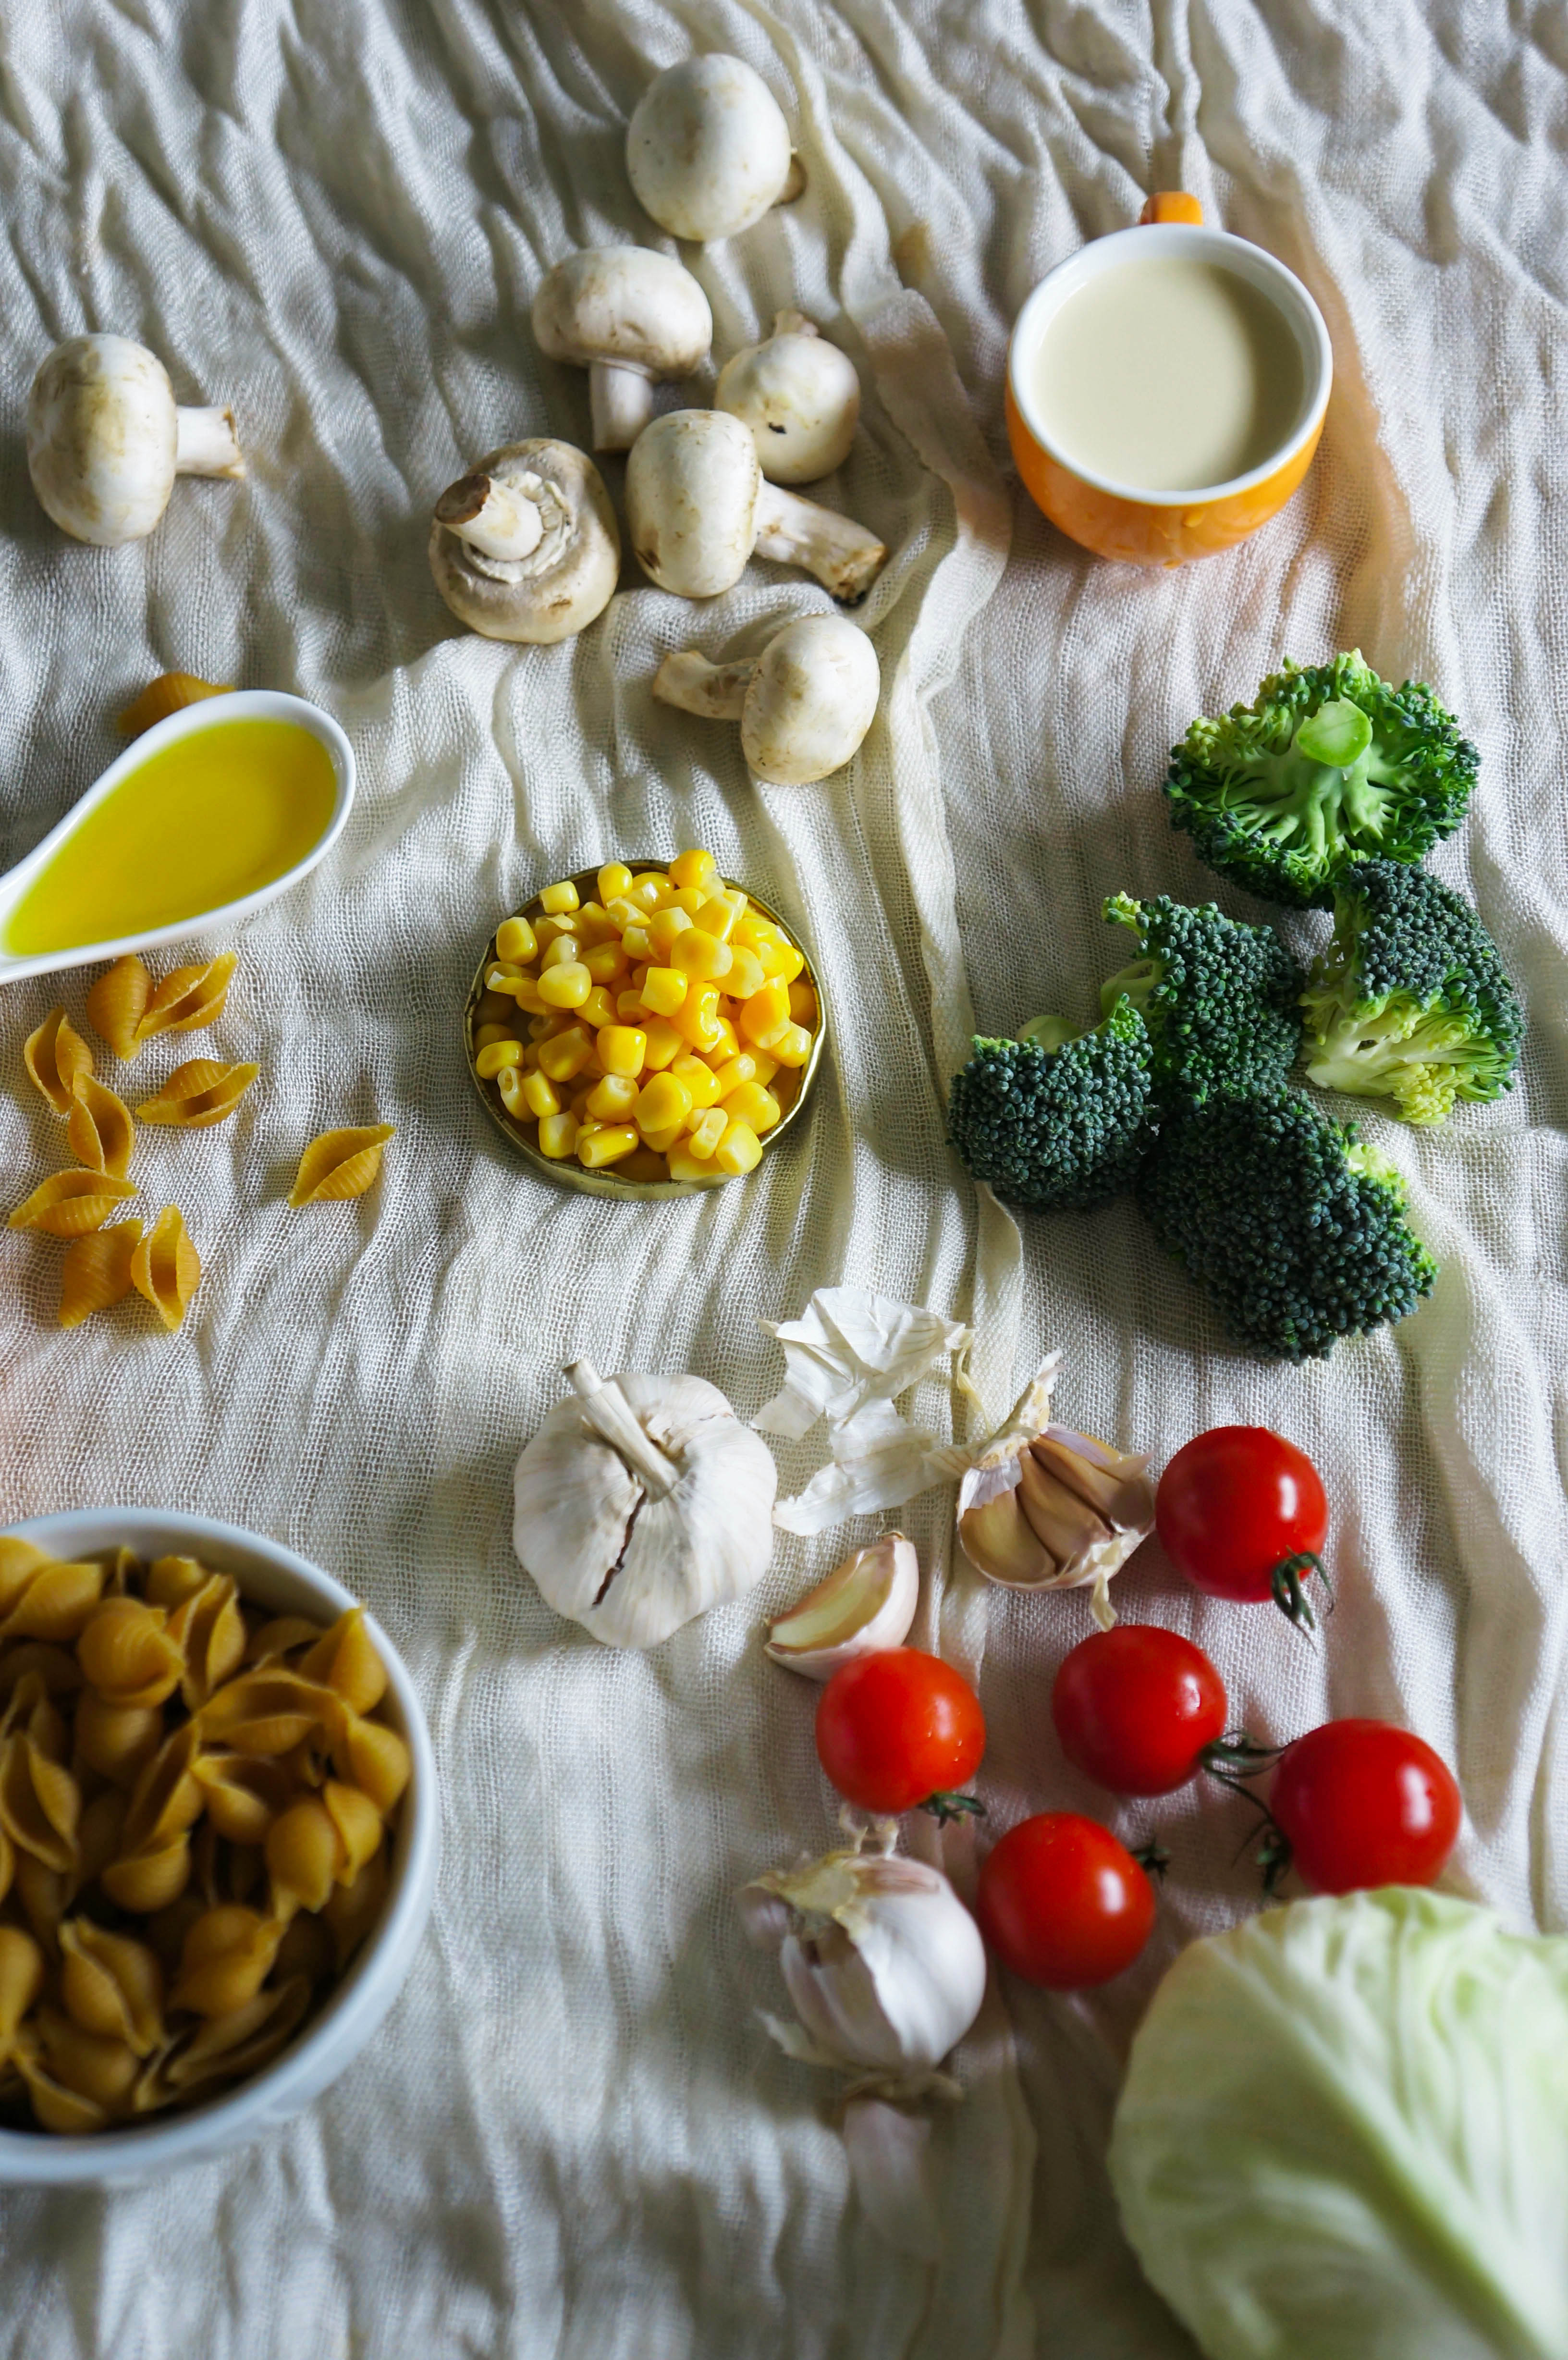
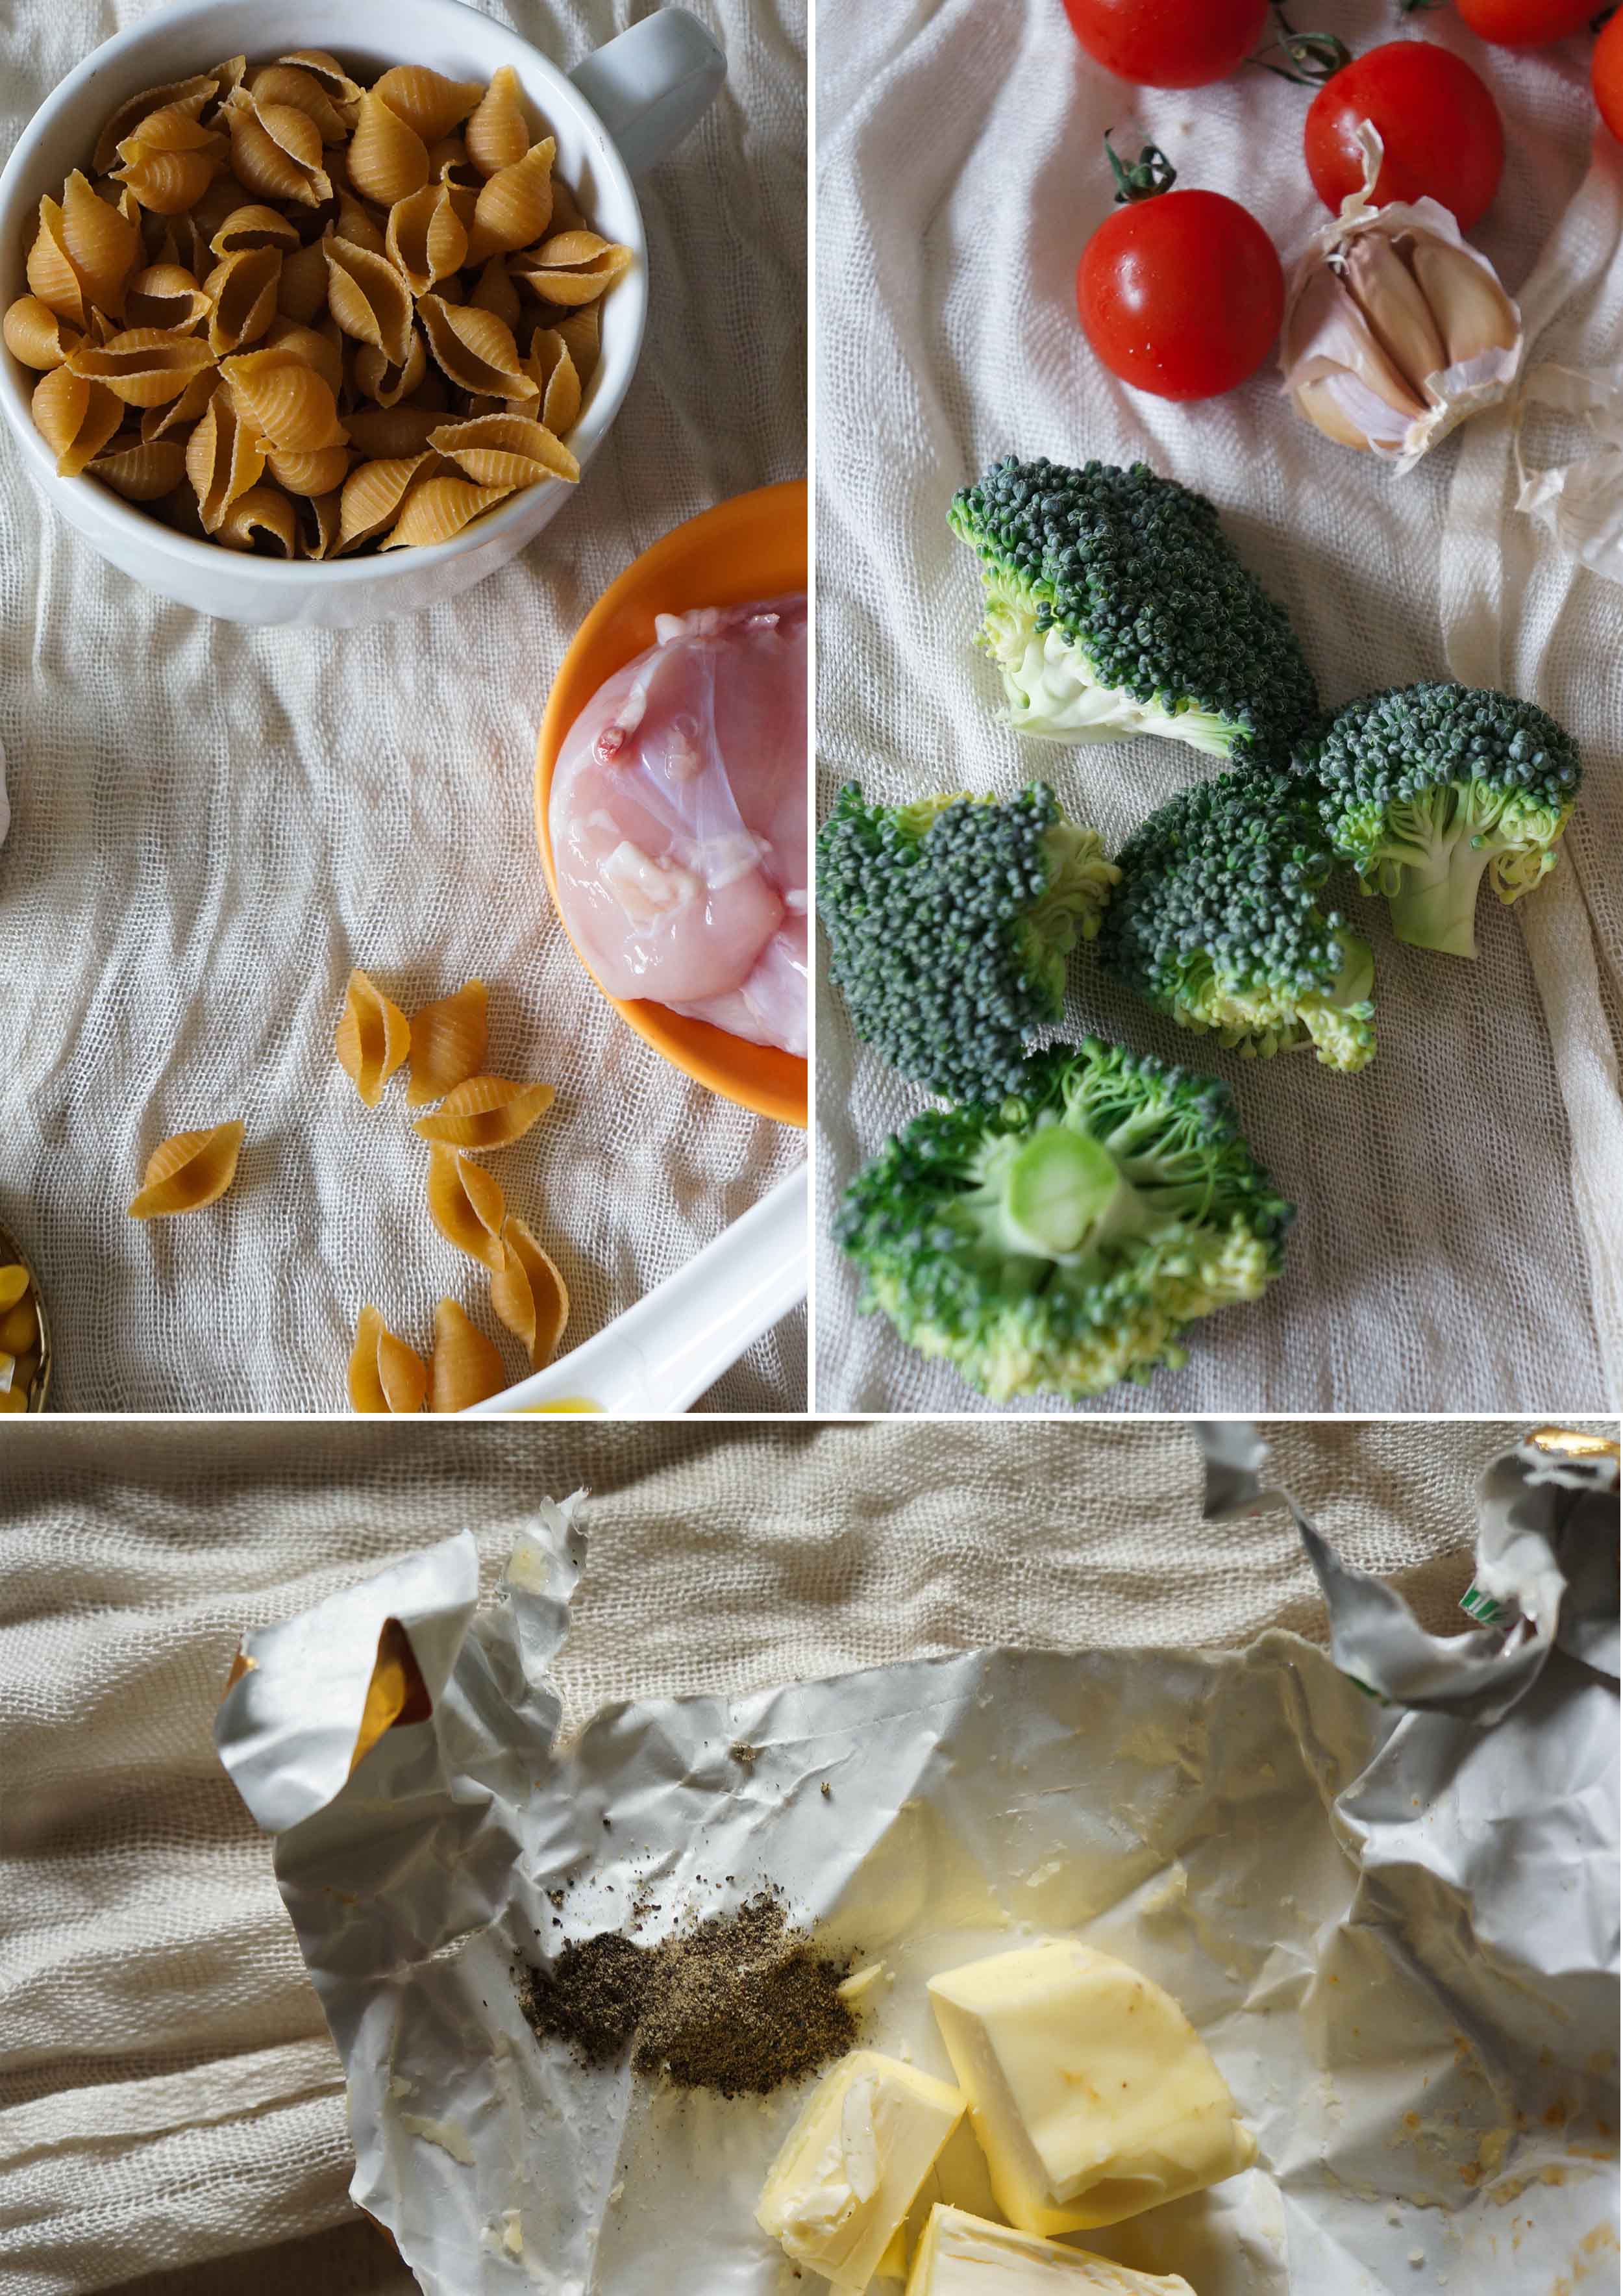
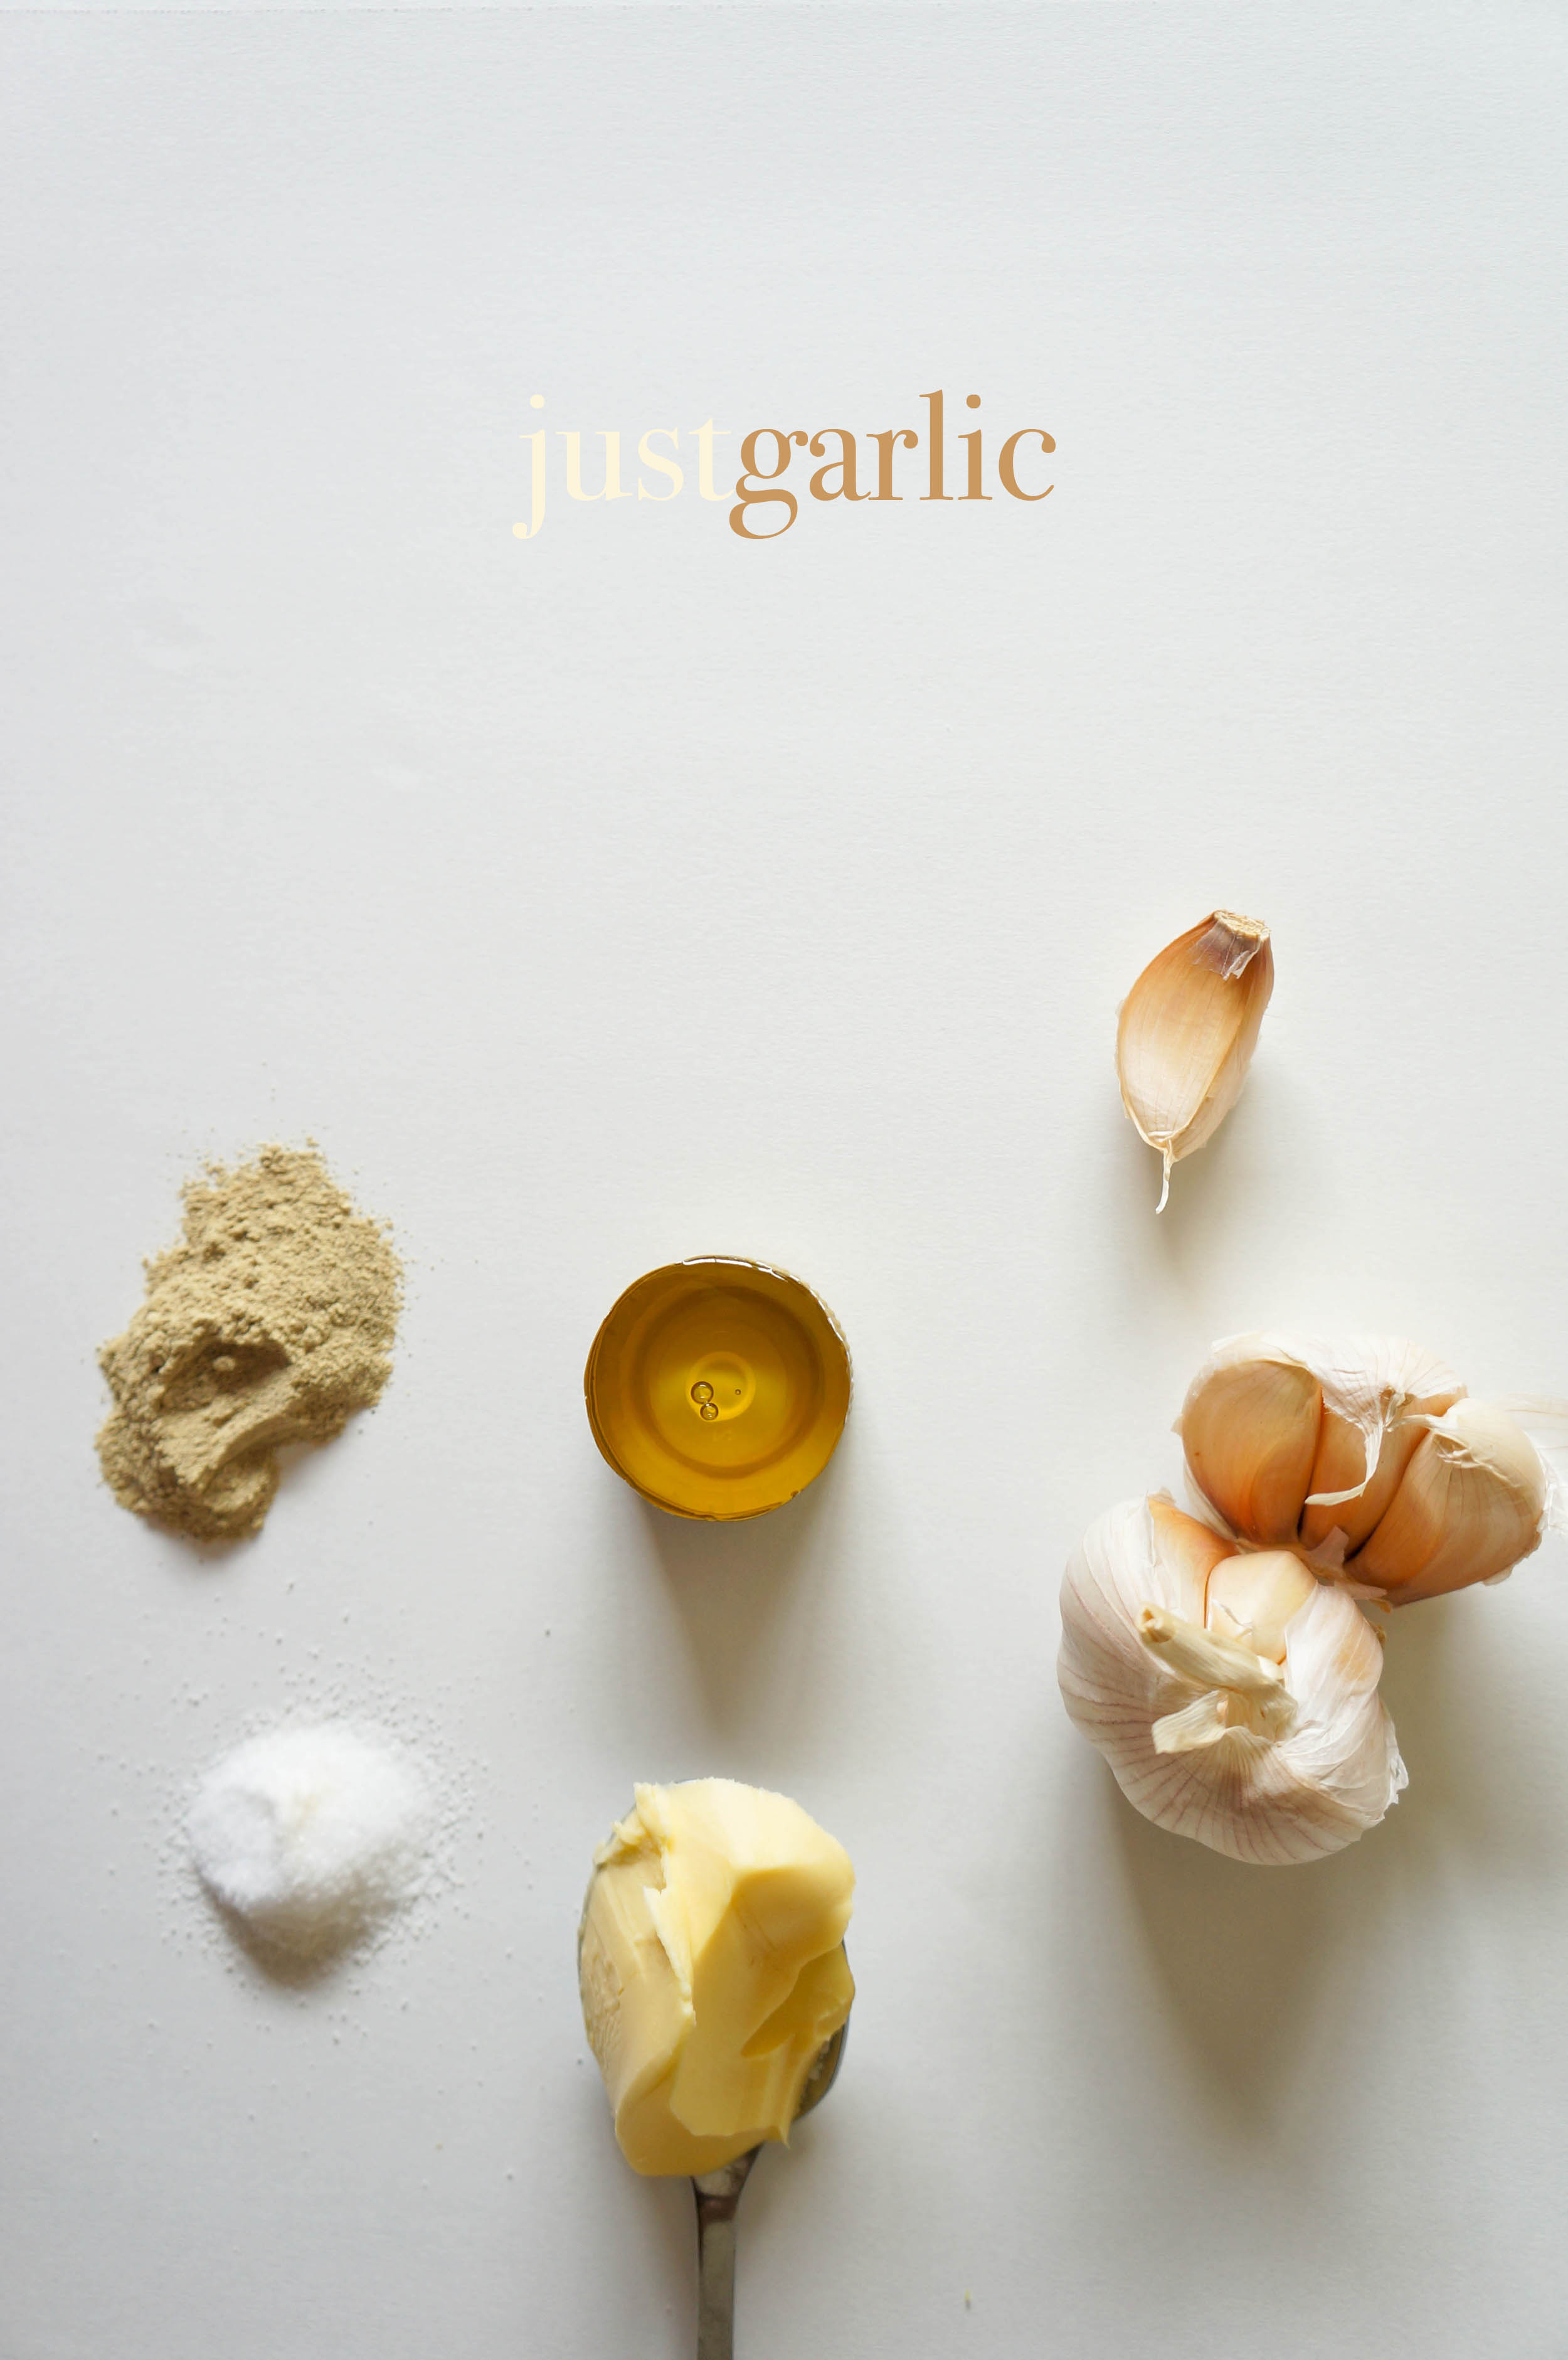
I just love garlic so much either the pungent flavor or the health benefits. It isn’t a secret that Garlic may help improve our iron metabolism so for me, this garlic soup is the one of the simpliest-lightest-and fastest-recipe of soup I heart. This soup is such a DIY recipe, you just need 8 gloves of garlic (I always put more! slice them), pinch of salt and white ground pepper, margarine, vegetable oil, as a spice. Surely you’ll need chicken fillet as basic broth, carrot and leek for a flavour.

Garlic2

First step, boil water and put chicken fillet in it, prepare your frying pan and heat vegetable oil. Put garlic and add margarine. Then add pinch of salt and pepper, wait a second until you can smell the flavor. The spice is ready, move it to your boil chicken, add carrot and leek (sliced). You just need to wait for 15 until 20 minutes. The garlic soup is ready to be played with another ingredient!

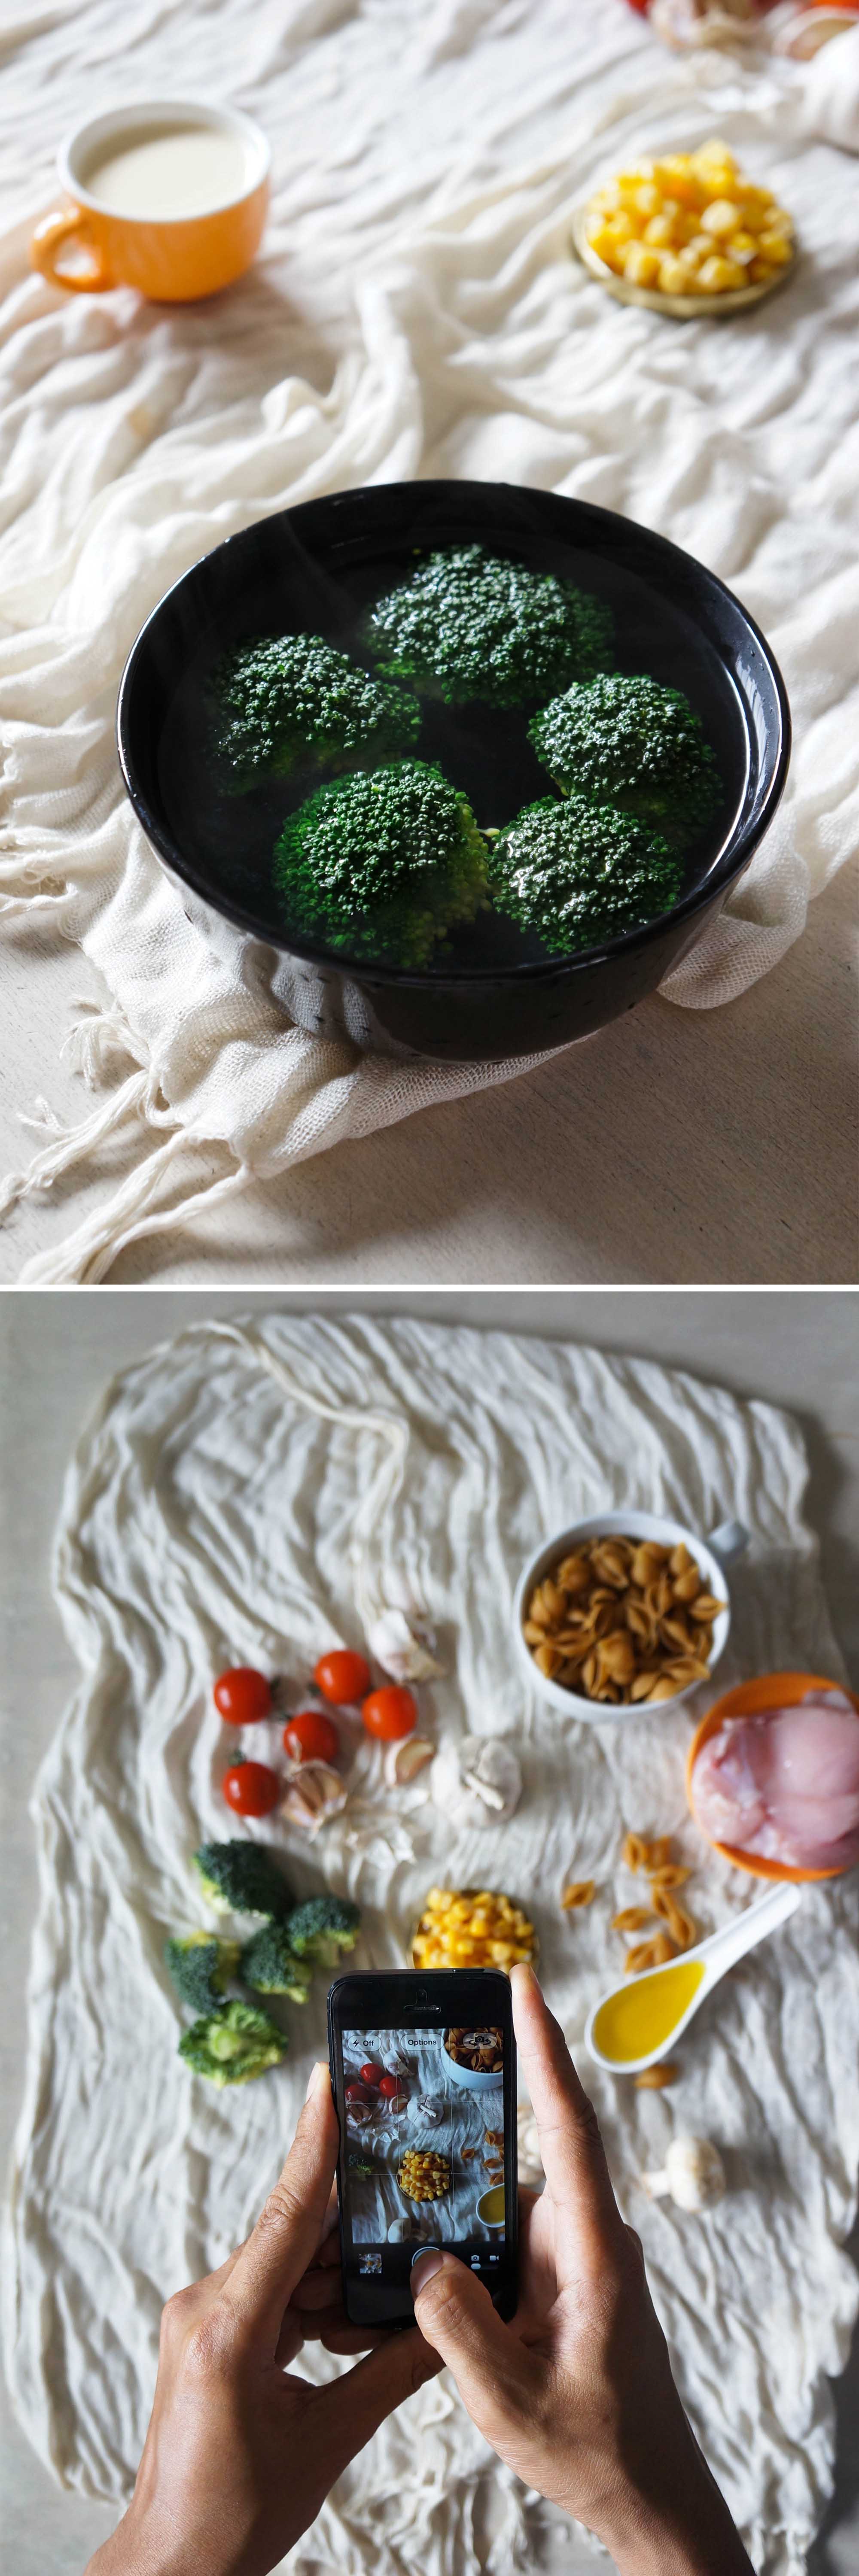
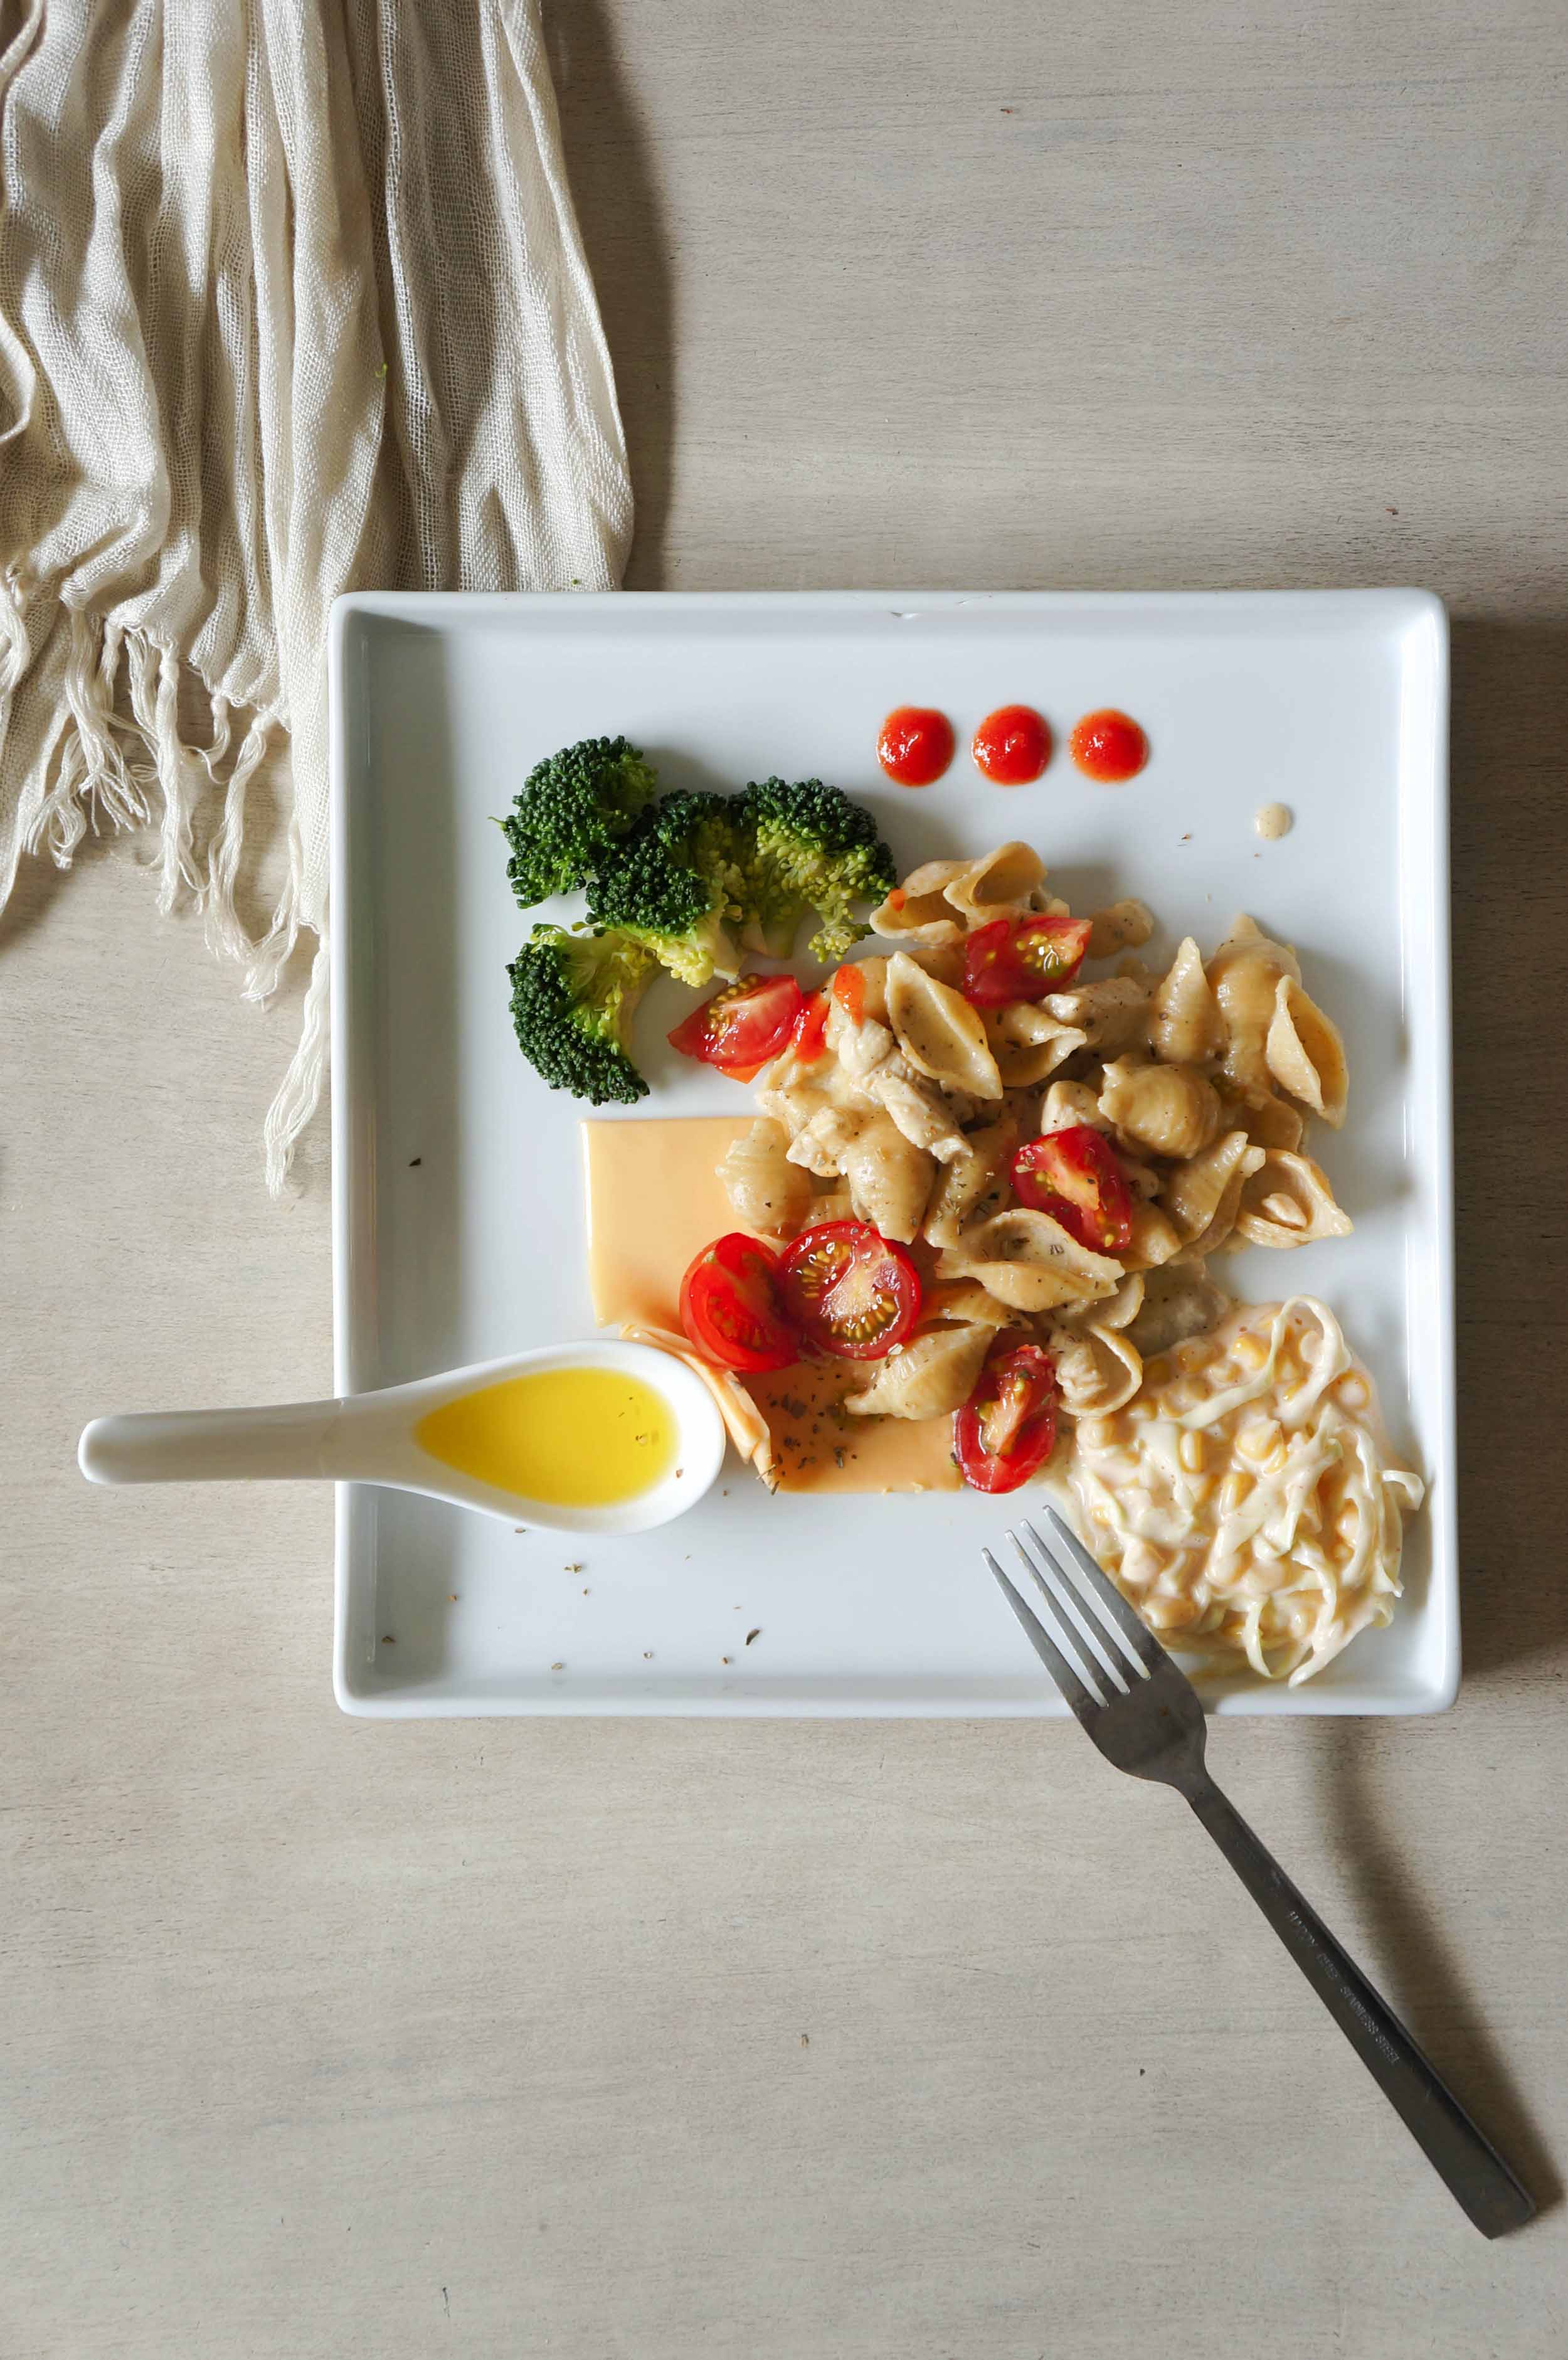
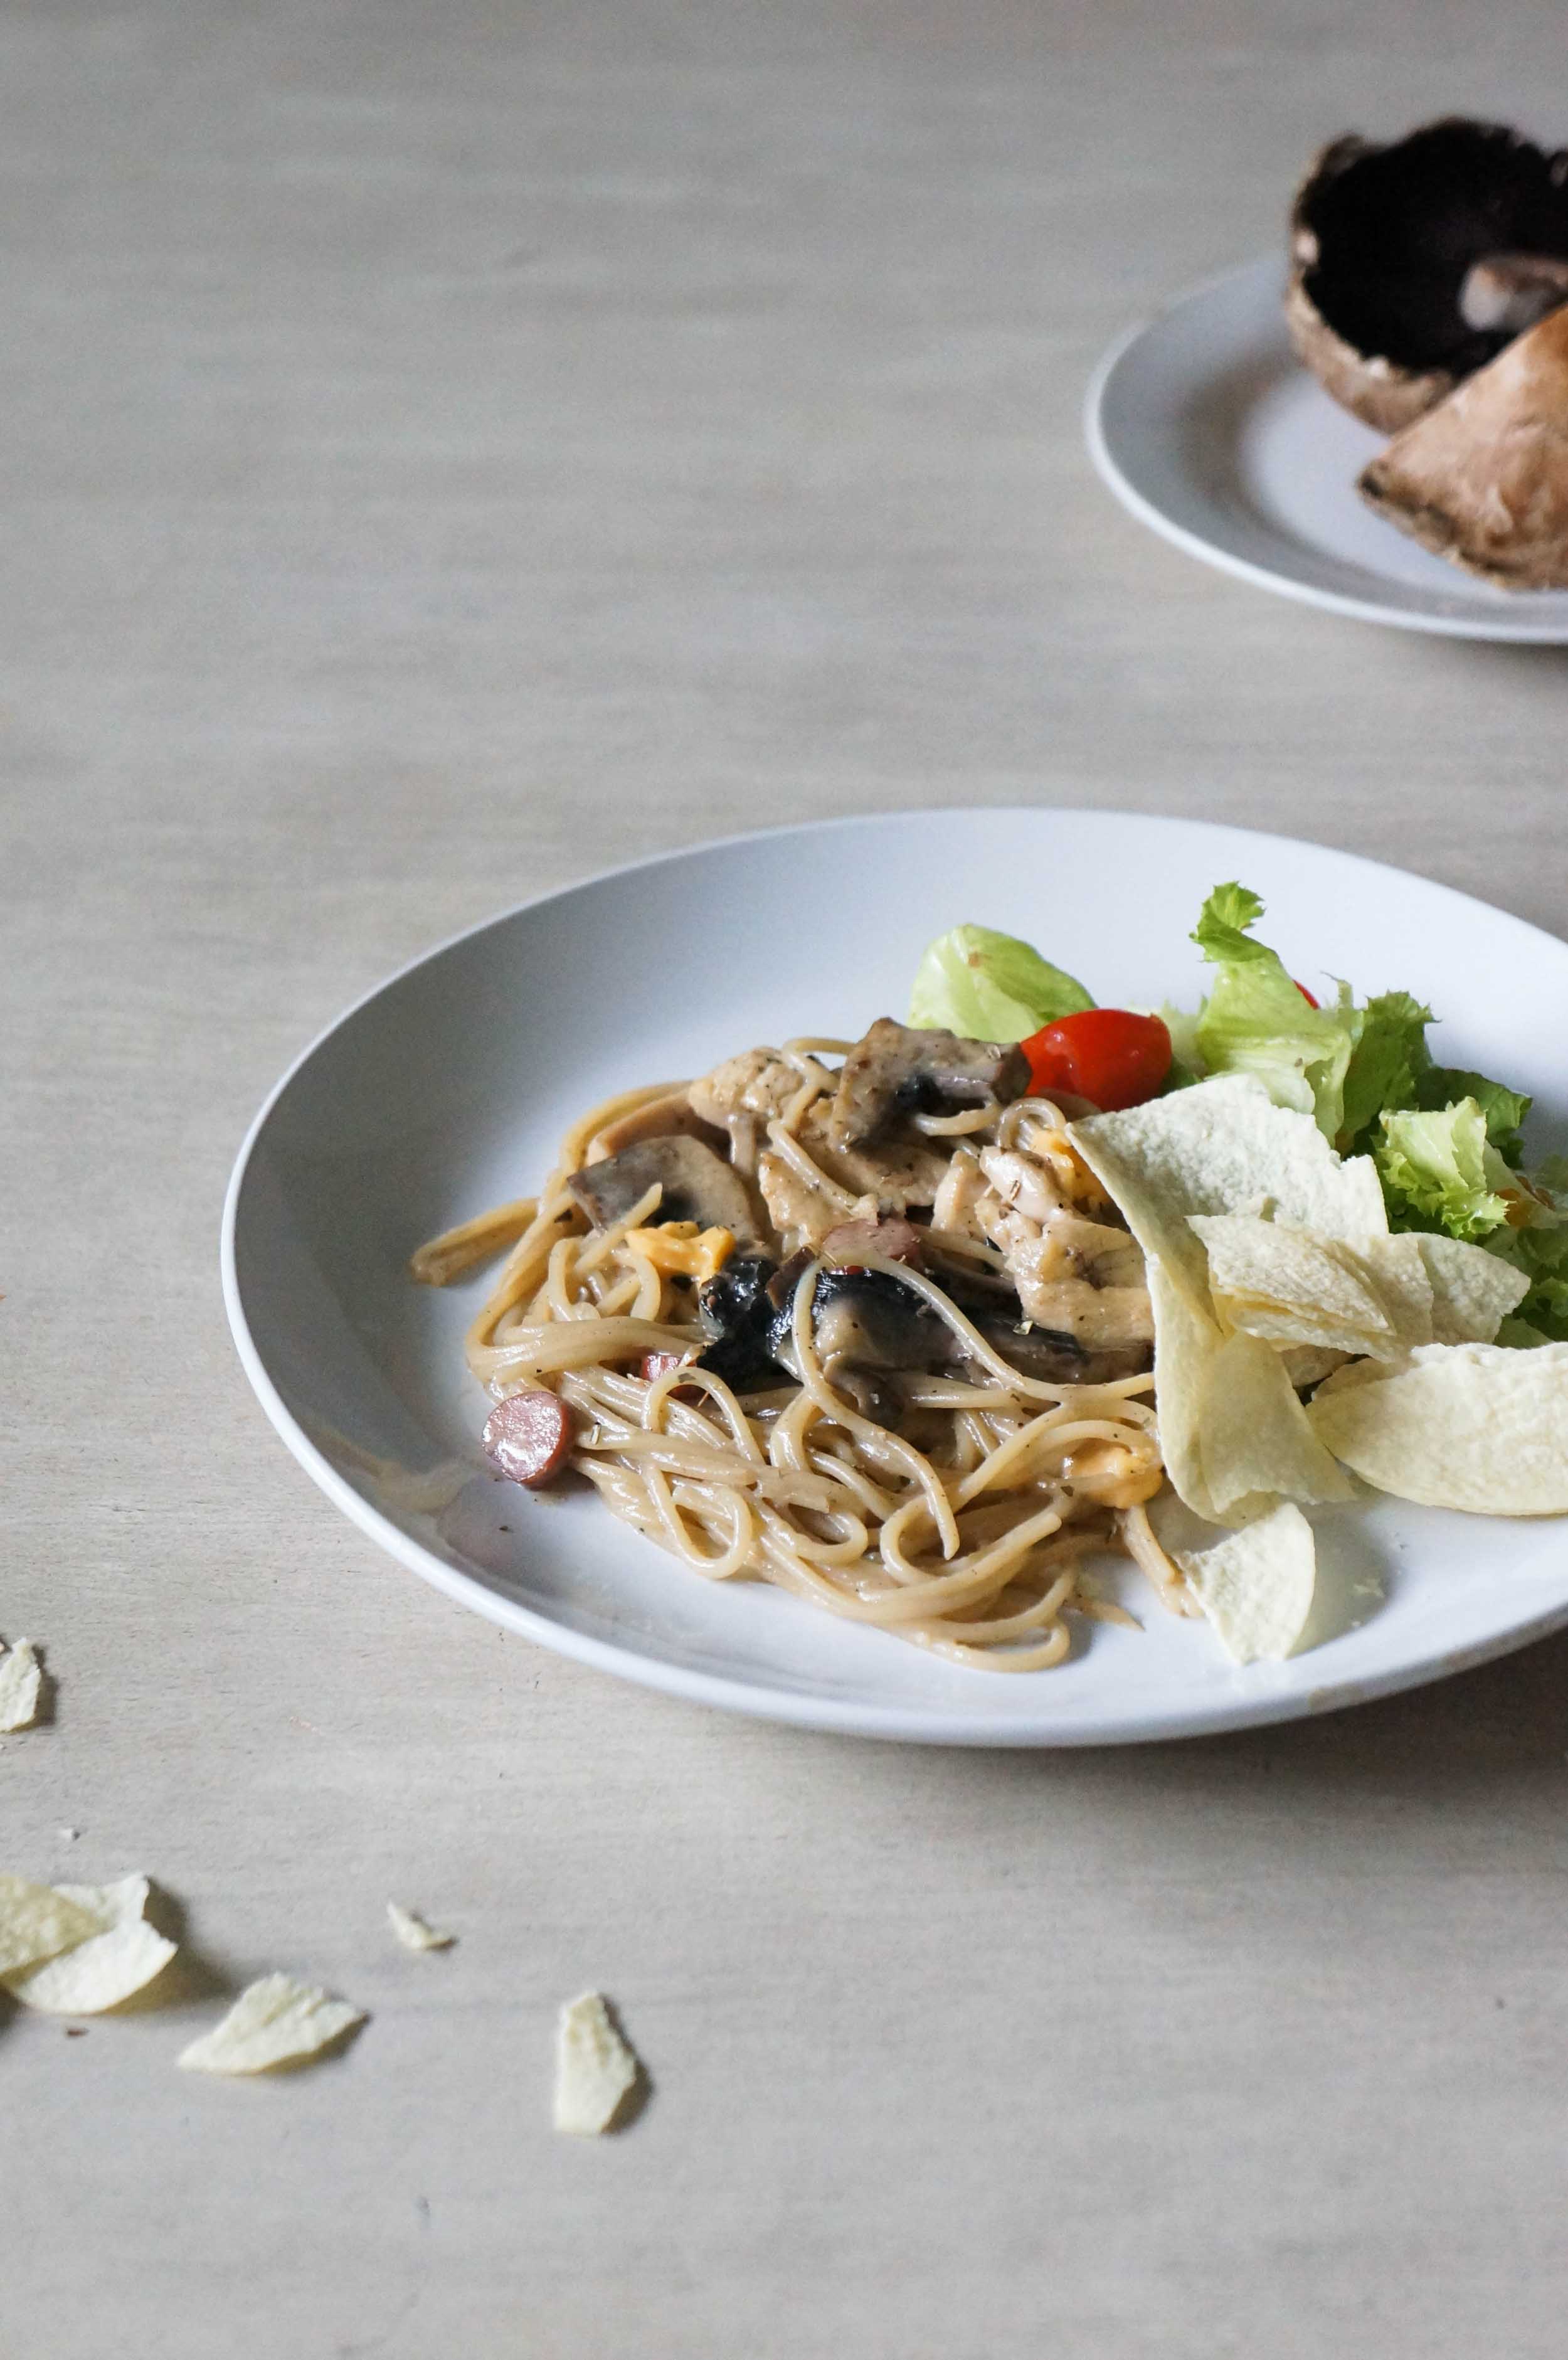
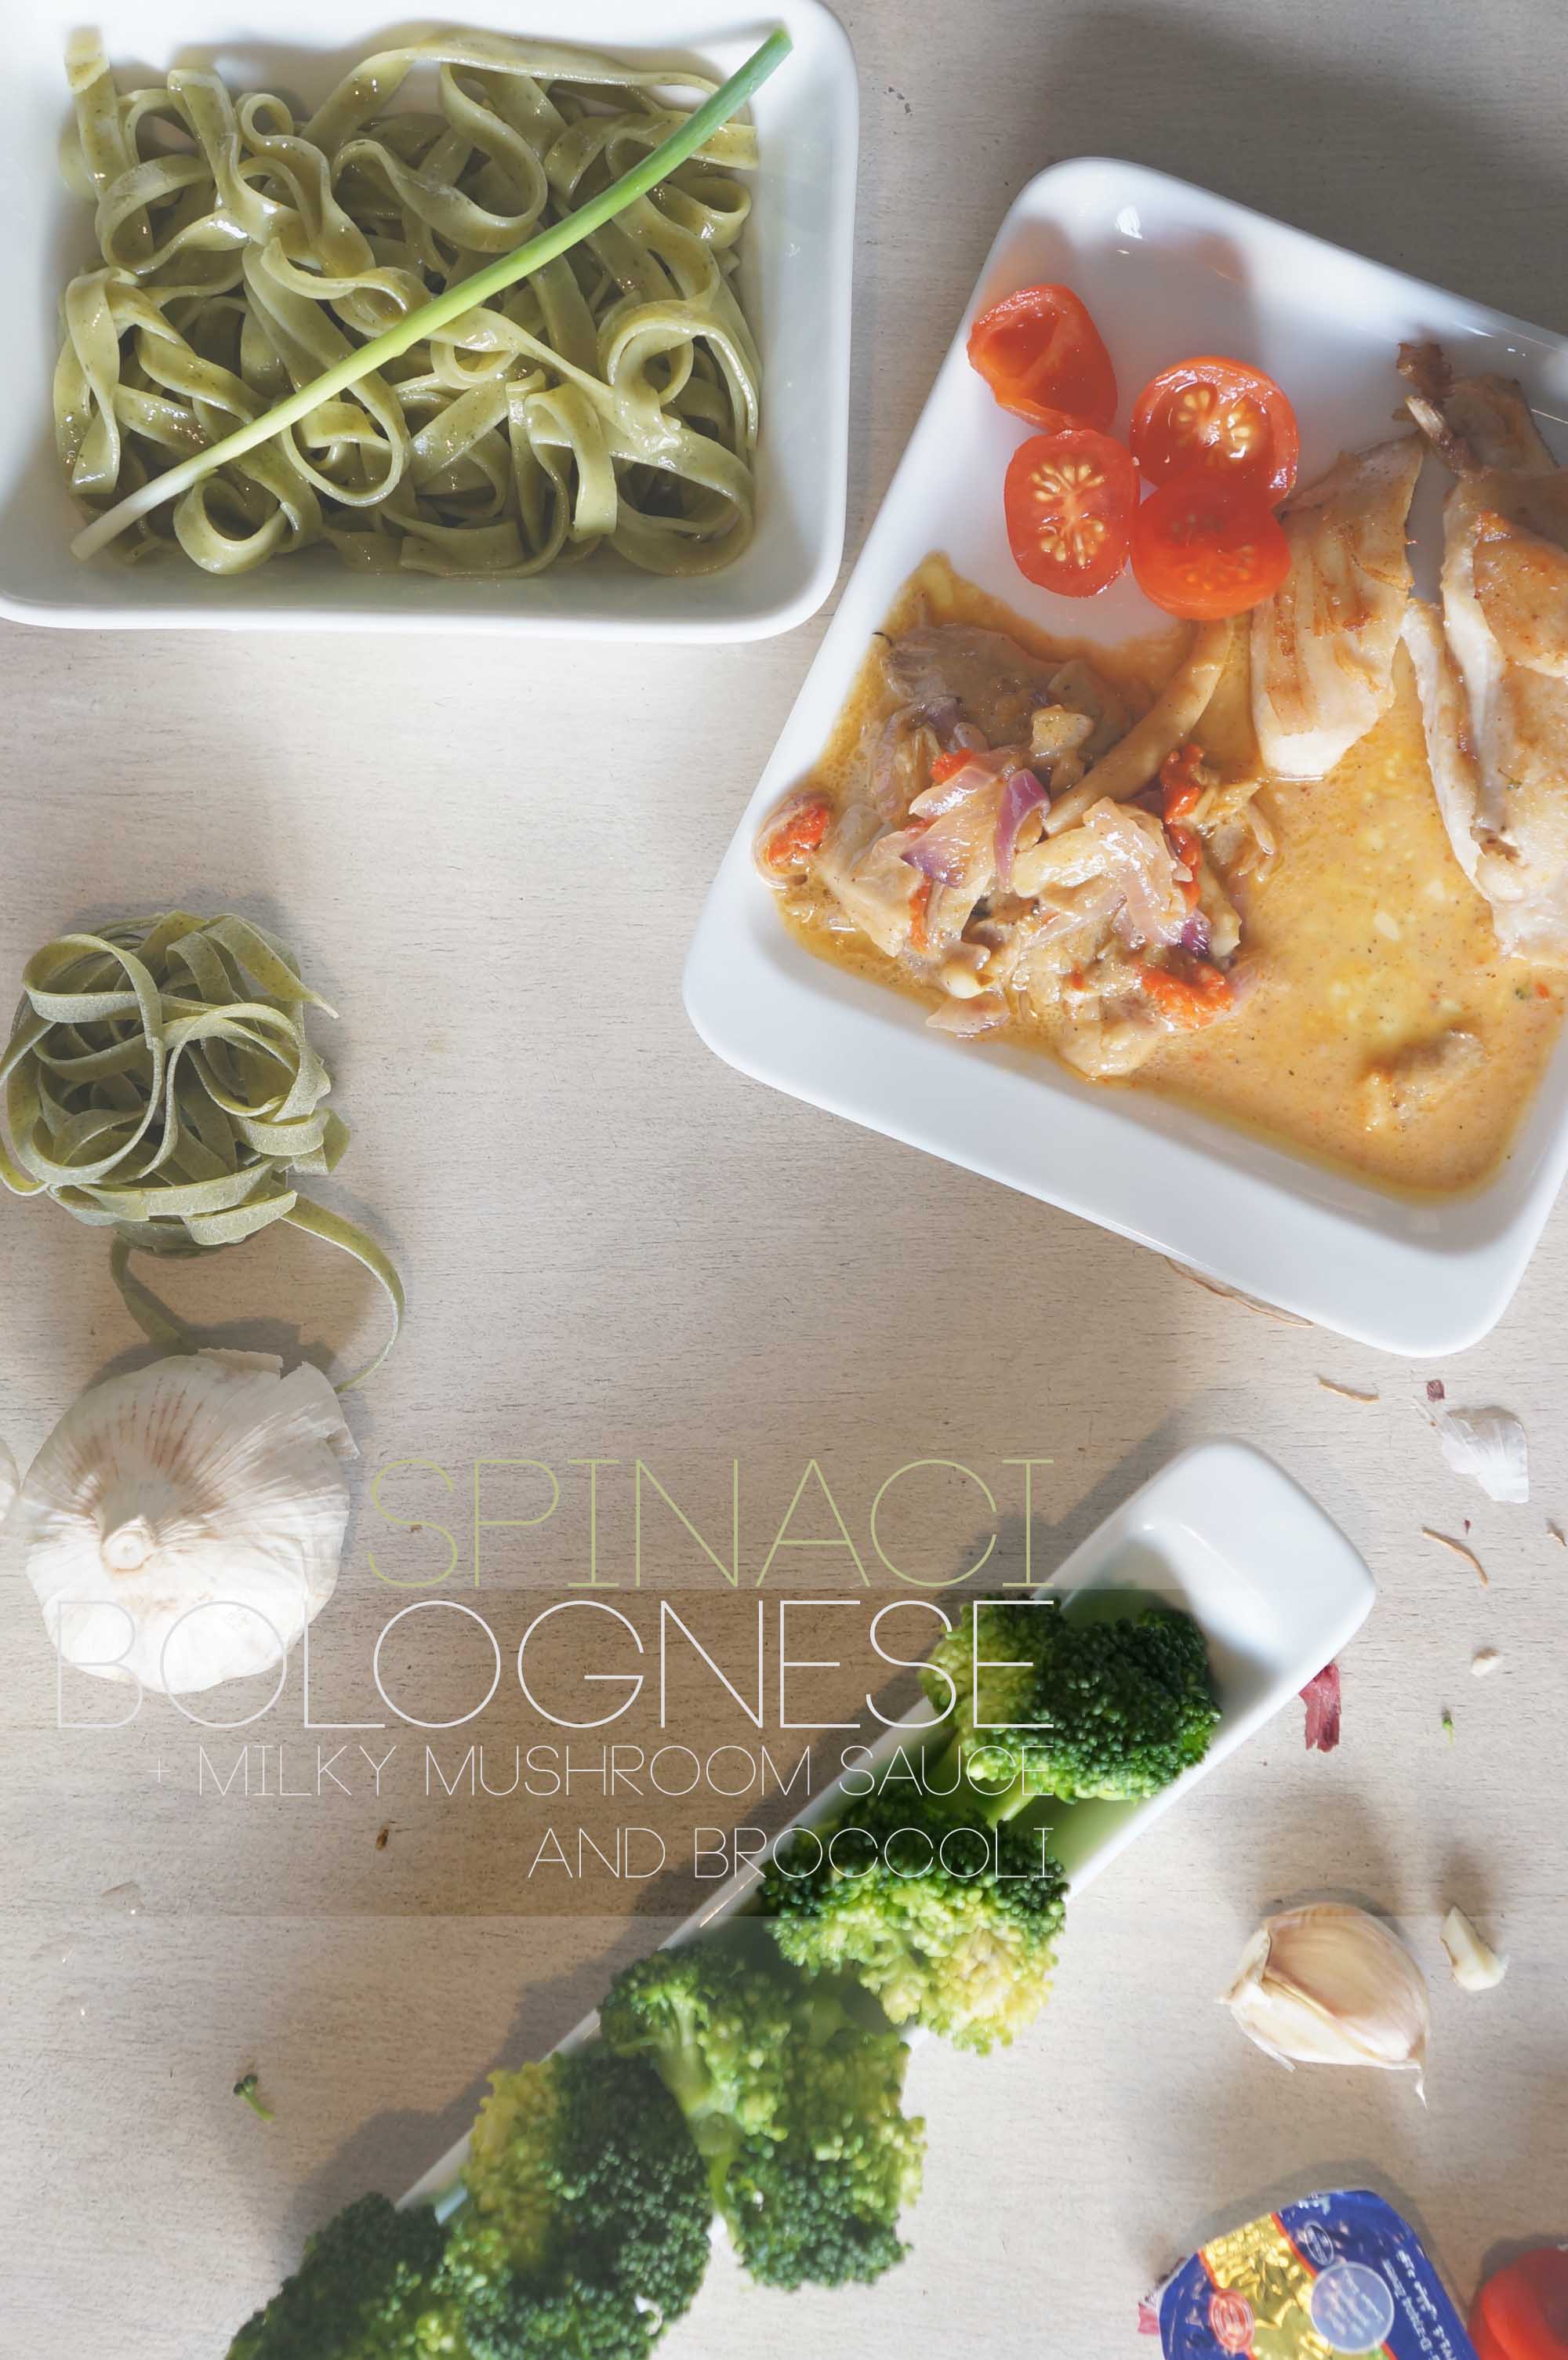
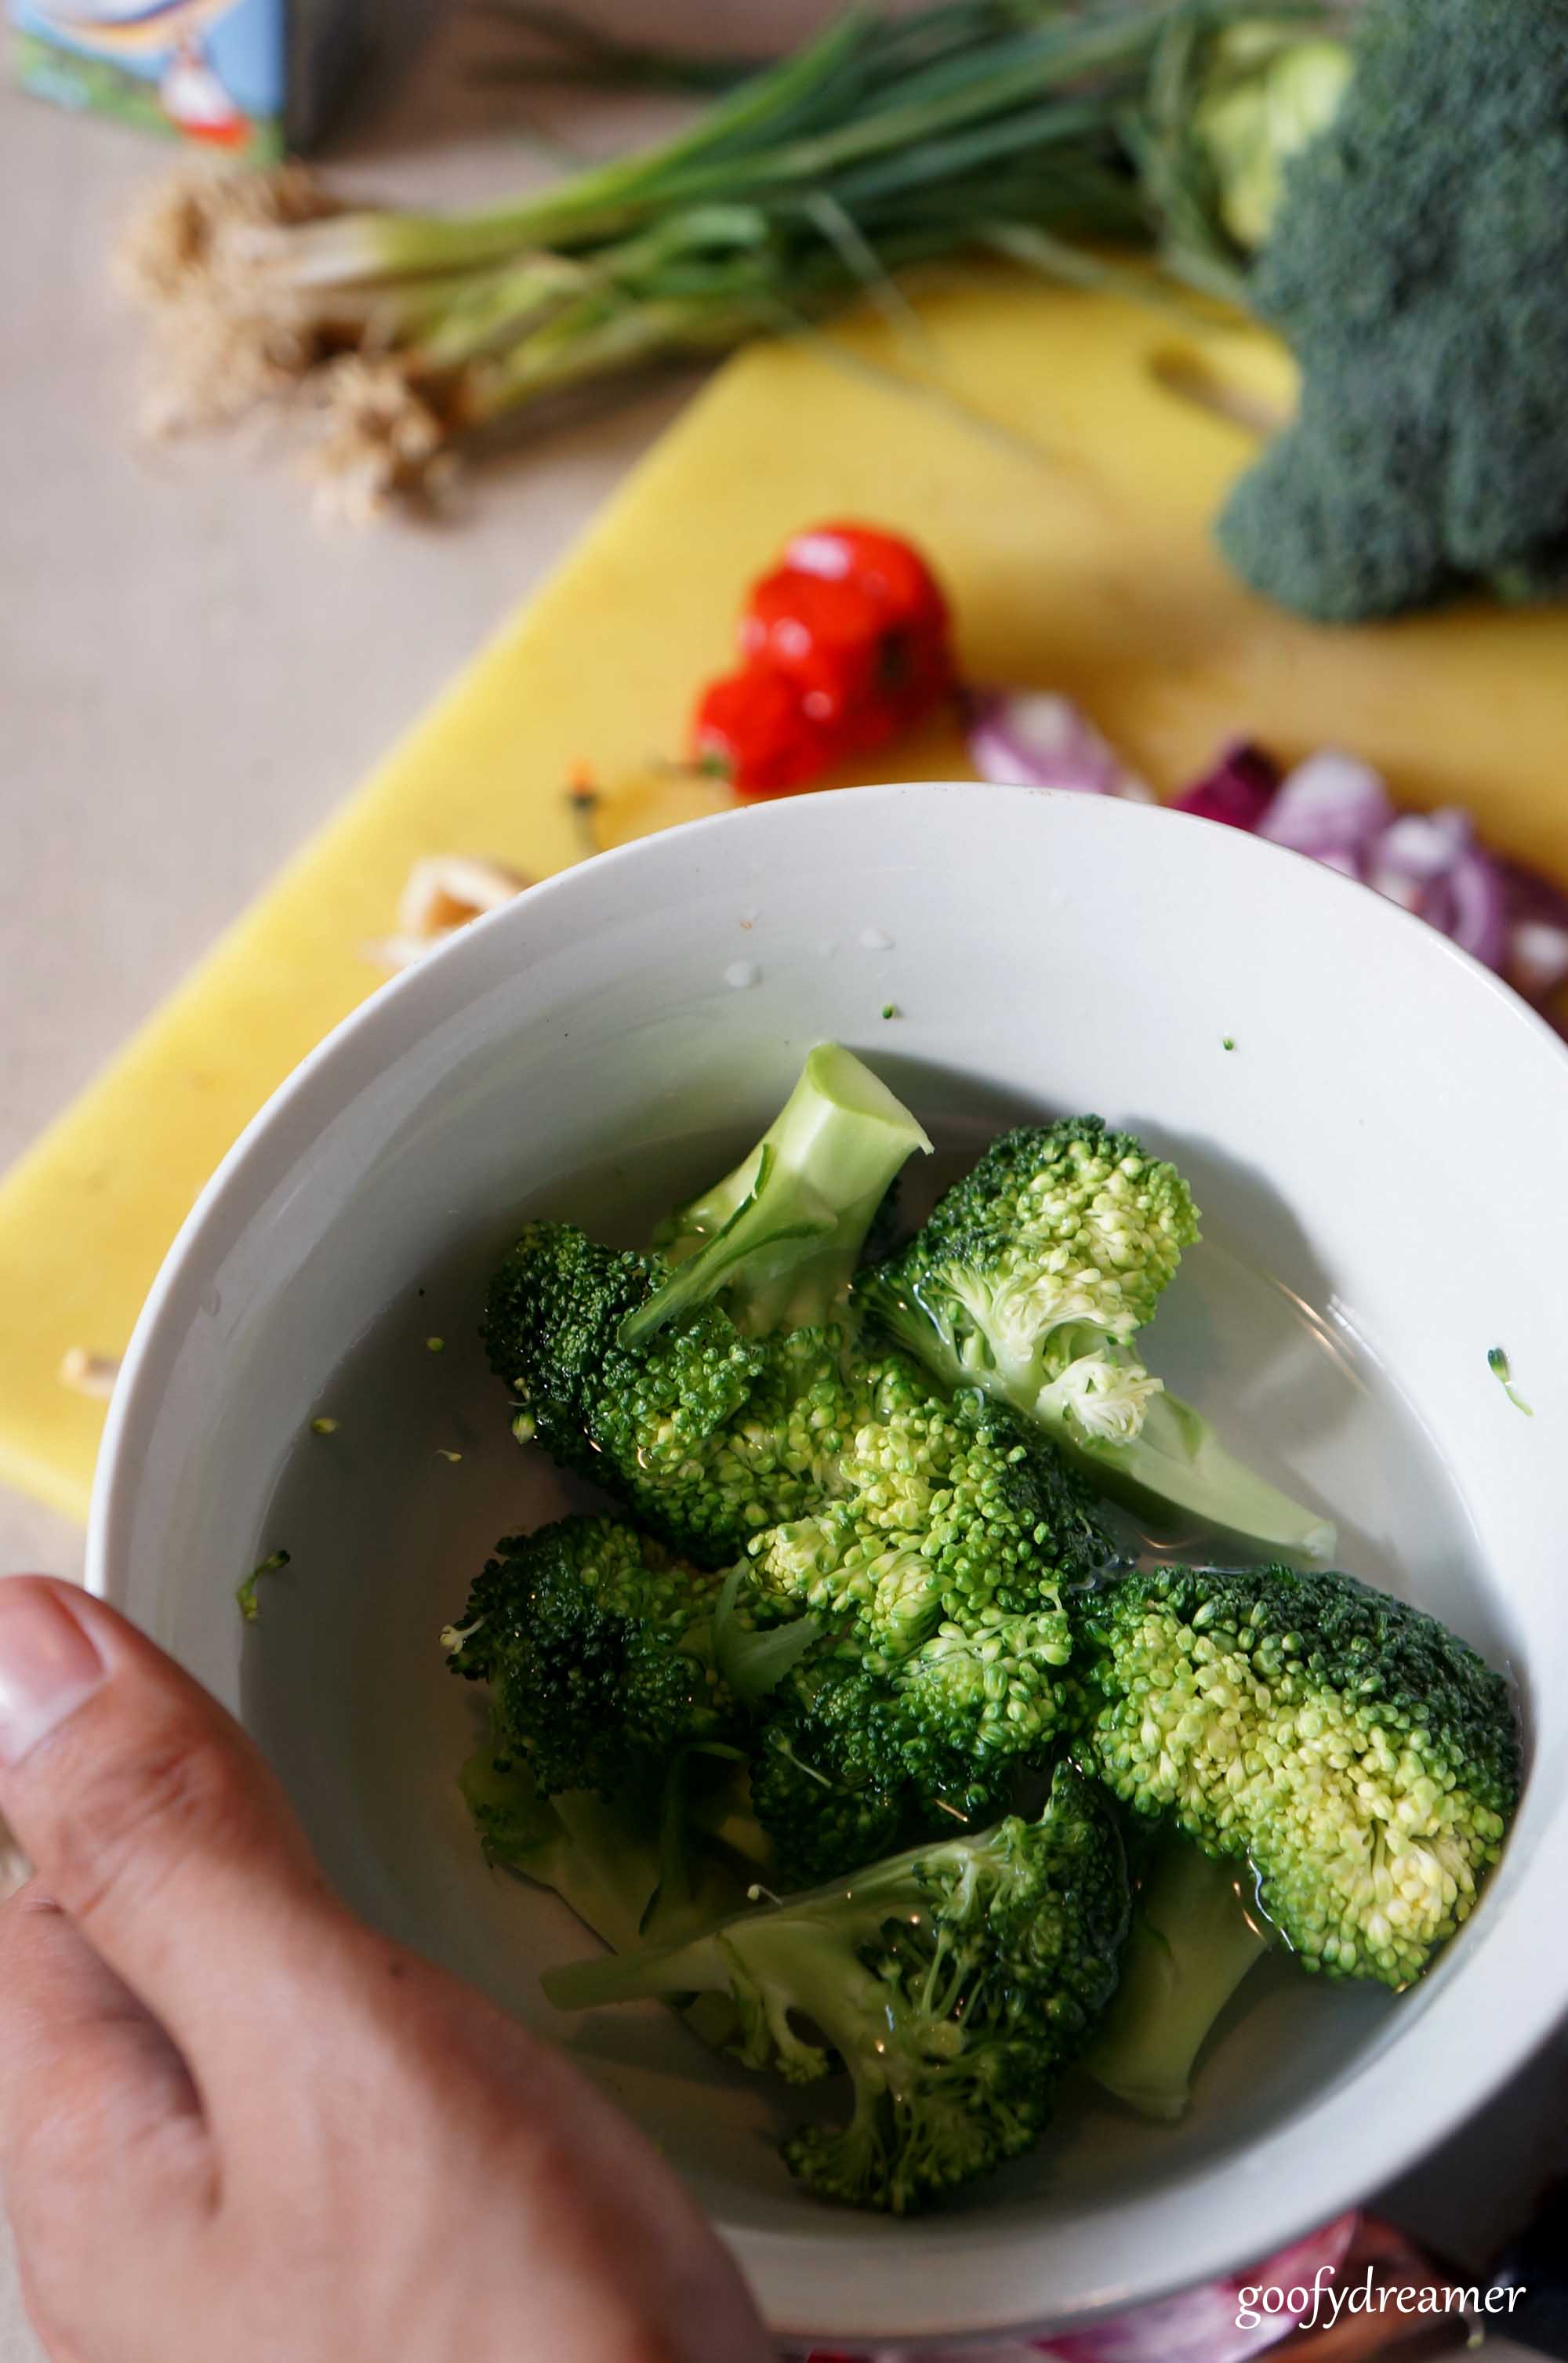
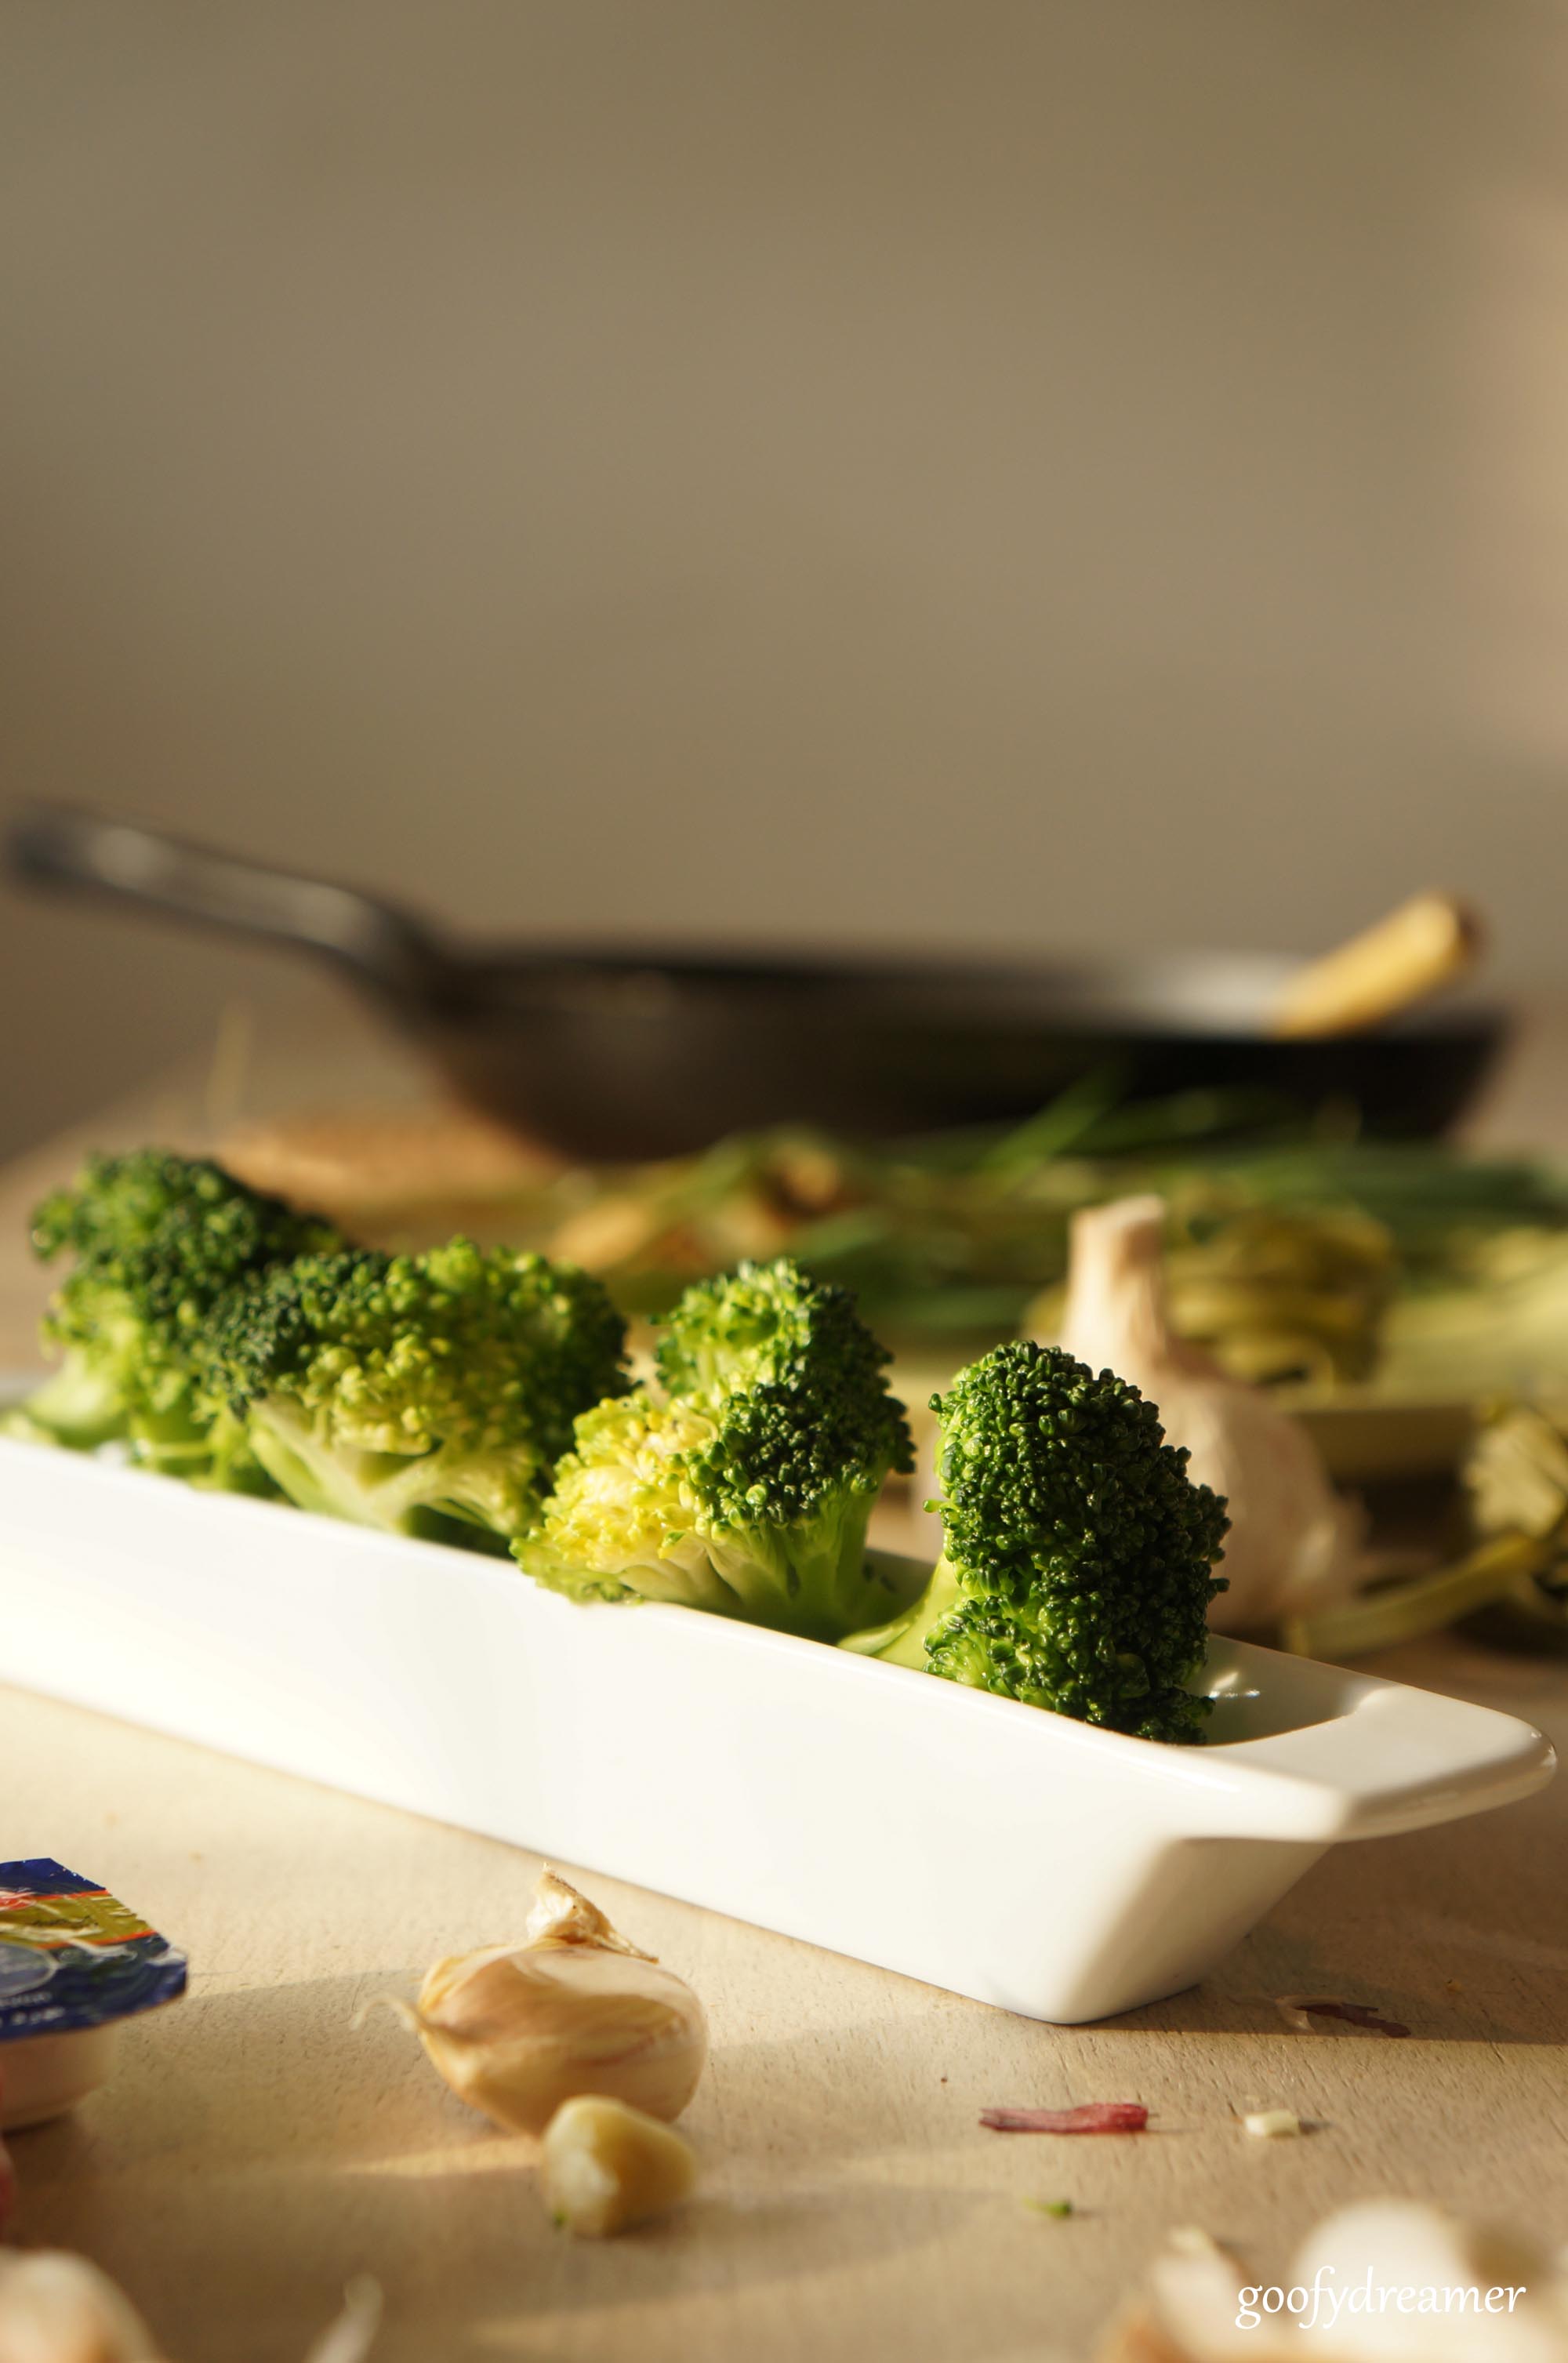
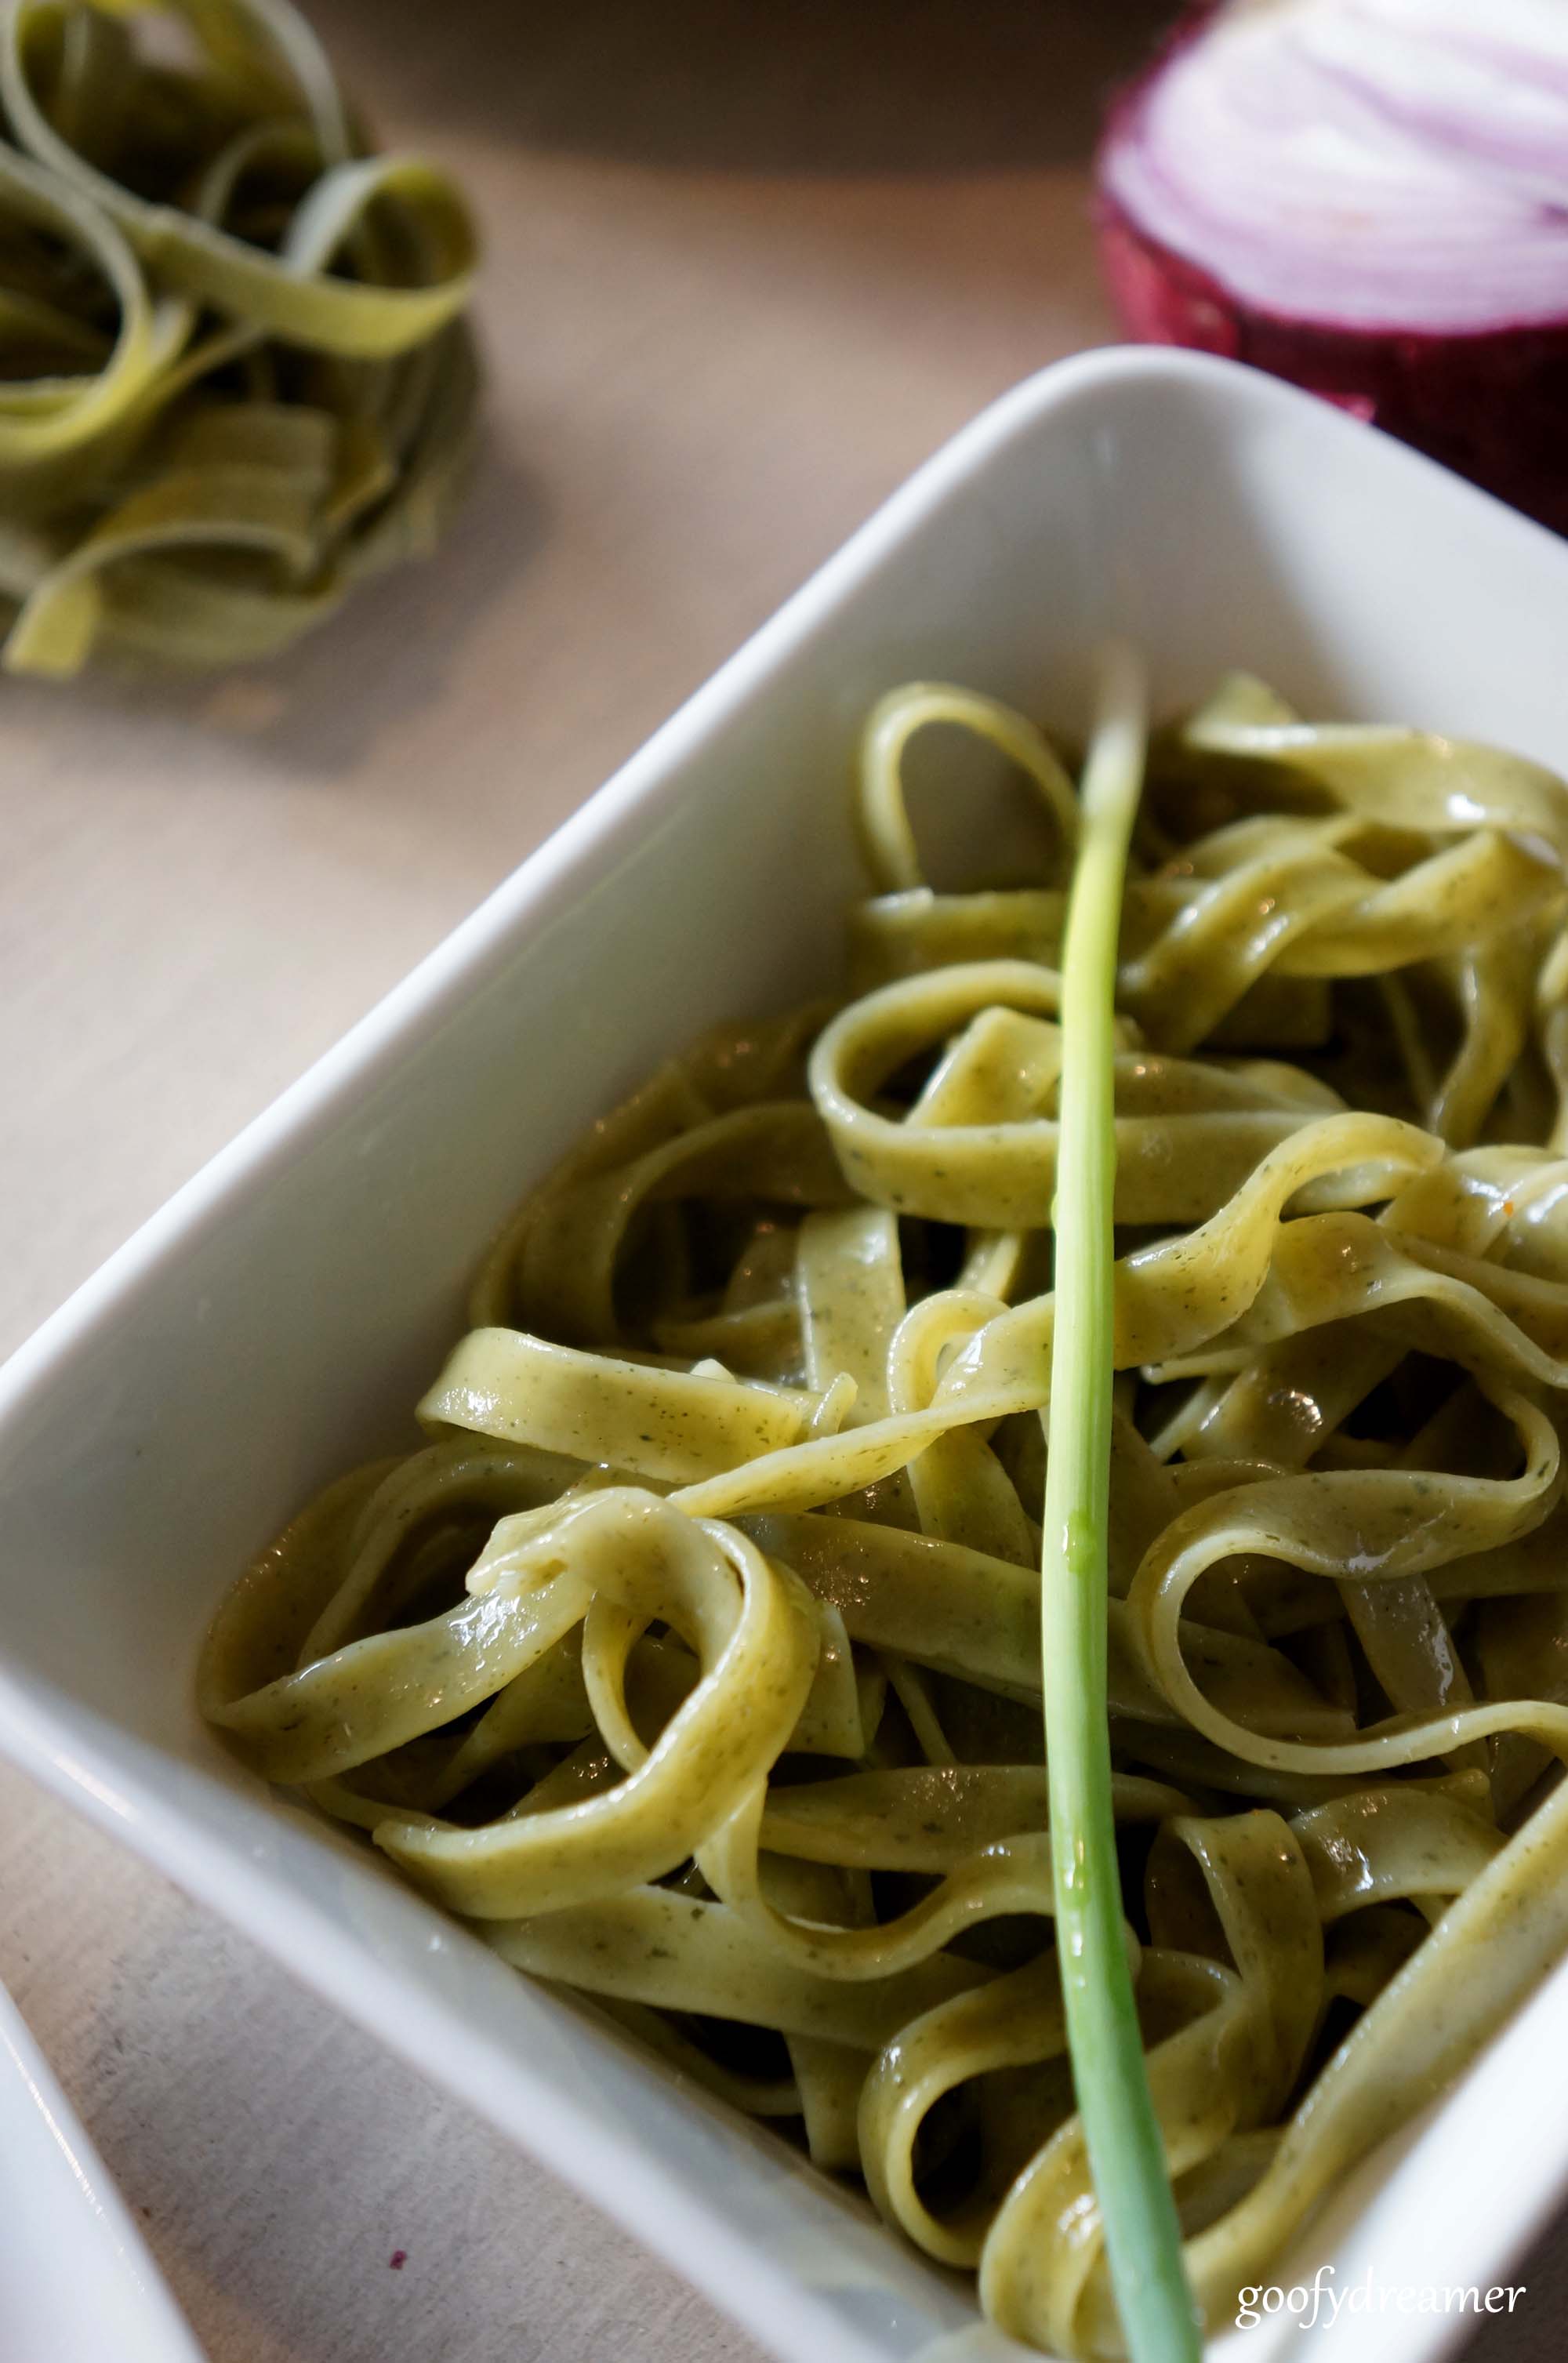
Mixing with another ingredient is another thing I love from this soup. You just need to make it once and mix with pasta, vermicelli, or veggies. On that day when I cooked for lunch, I mixed with spinach pasta, broccoli, tofu and chinese lettuce. I wanted the pasta a bit dry so I wasn’t put too much soup in my bowl. The taste was so light.

Garlic soup with Pasta

Garlic soup with pasta 2

I was enjoying this garlic soup with vermicelli such an early dinner kind of. I just added slices of tofu, fresh lettuce, and sprinkled minced red pepper. Oh I always make sure my garlic soup isn’t too salty, it’s easier to make it saltier by adding salt separately.

Garlic soup with vermicelli

Garlic soup with vermicelli 3

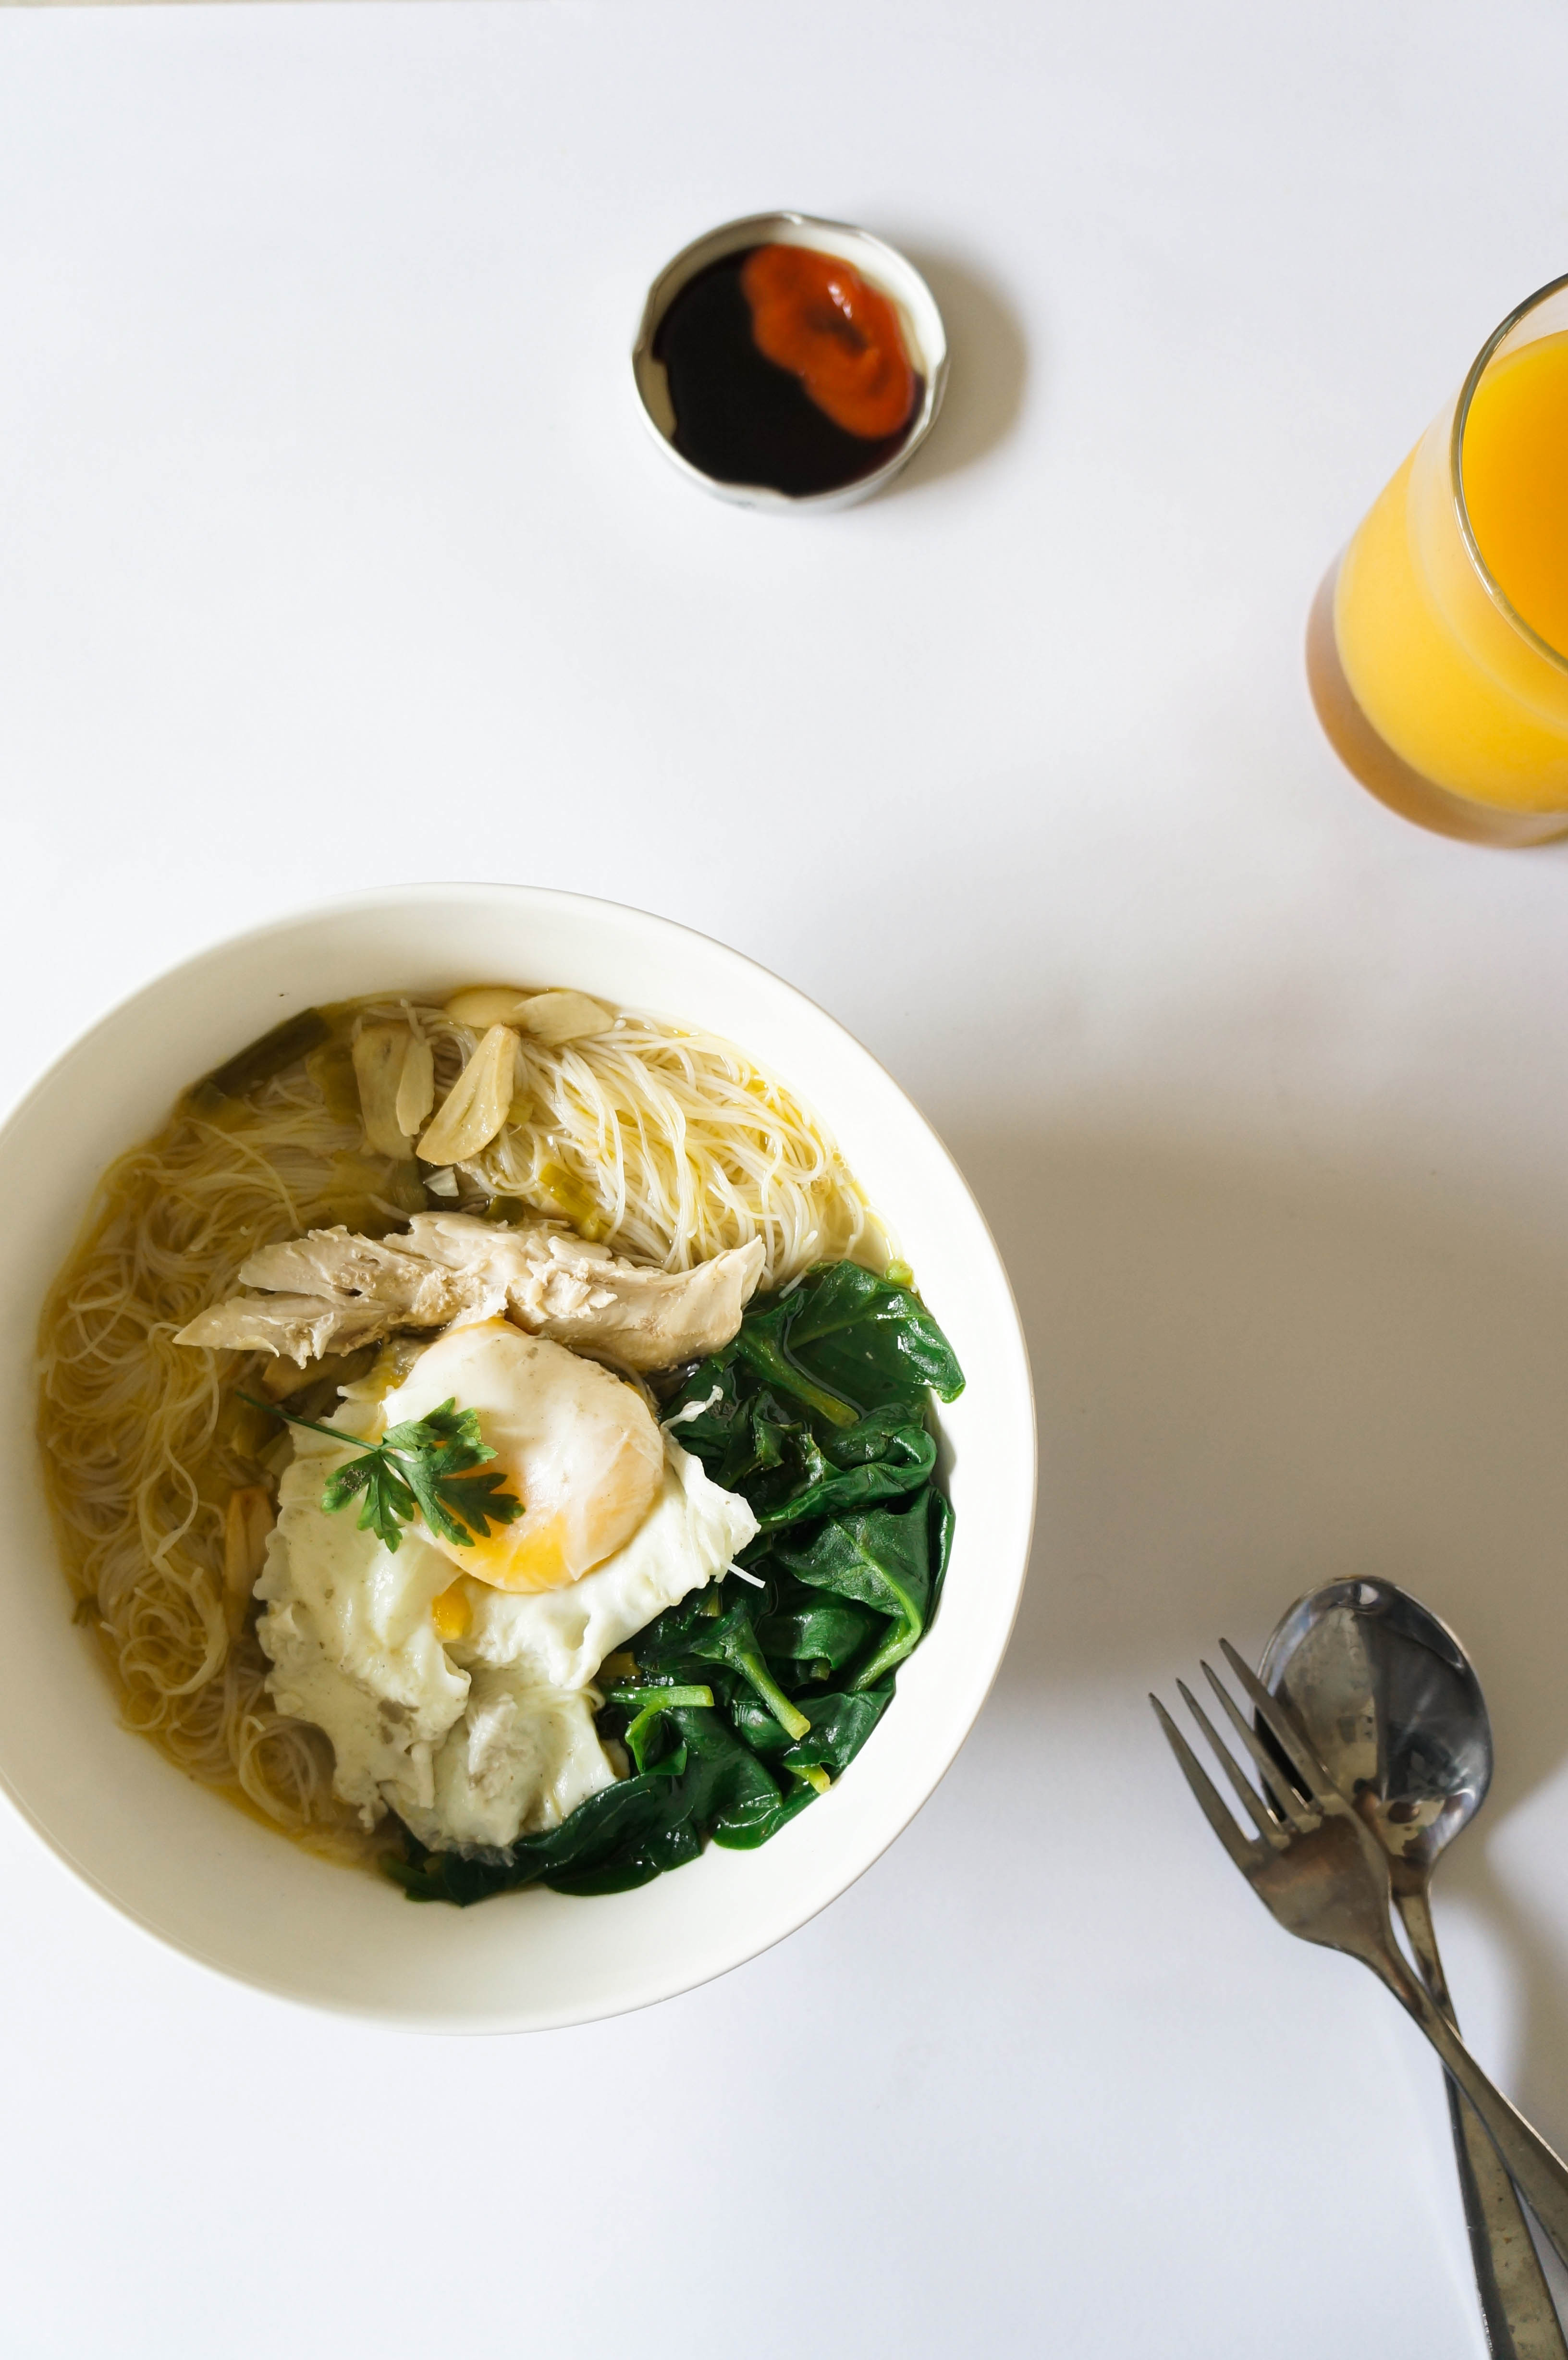
The following day I had the same garlic soup for breakfast. Little spinach and poached egg were inside my bowl, and  little chilli and soya sauce to make the flavor tastier (chilli and soya sauce such a perfect mate, inspired by Bakso. I’m craving Bakso right now, gah! :()

Garlic soup with Spinach

Garlic soup with vermicelli 2

That’s it. Garlic soup is become one of my fav food from now, and do you think there is no food as simply as easy as quick as junk food? You should try this garlic soup! :)

P.S I just realized that these pictures on this post are quite Cereal-ish, clean and fresh, excuse for this confidence yet Cereal is so damn beautiful! :)

Conchiglie Creamy Champignon

iPhone picture
taken with iPhone

Here again. I almost die inside my laziness yet I realized that so many, yes too-many-abandoned-pictures need to be posted. My quick jaunt to Bali, still on my hardisk. Some pictures that I need to find on my Facebook page still on my head (that because I lost those pictures and I sad) for my little story about friend, yes still on my head. Almost 1000 pictures that I took with my iPhone recently are still on my iPhoto, I haven’t moved them to my hardisk yet. And I knew that next week I will work hard like a dog for two big event. Sigh.

I decided to wake up a bit among my laziness, and among my flying-whats-my-next-dreams. Fortunately this food-lodge is on again. Post from my last week lunch ; Conchiglie Pasta cooked with creamy Champignon. If I could say this recipe is one of the EASIEST Italian food I could cook. You can cook. Very easy, no need too-long-to-cook, fresh ingredients, simply yet tasty.

Let me tell you how to cook this quickly. Whole grain conchiglie pasta (boiled well) keep it, now heat your pan, put butter let it melt. Stir fry garlic until smells good. Add O Oil, add chicken fillet (dice cut), cook 3 minutes and add champignon. Then pour full cream milk as much as you think it will be creamy enough, pinch of salt (taste it before you sprinkle salt, make sure the taste is perfect, not-too-salty), just need like 2 minutes to cook the cream. Mix pasta into the cream, add cherry tomatoes, sprinkle Oregano and simply Italian food is ready to be enjoyed. For side dish I added broccoli, sweet corn + cabbage in spicy mayonnaise, and cheddar cheese, it depends on you. Oh yeah, If you agree with me a full spoon O oil extra (put on the plate separately) will make this dish more perfect, add it :). If you want creamier, add whipped cream when the champignon cream still hot.

Ingredients :

° Handful of Conchiglie pasta | ° 6 tbs O Oil | ° 10 pieces Champignon | ° 200 grams Chicken fillet | ° 4 cloves of Garlic | ° 30 grams of Butter | ° 150 cc Full cream milk | ° pinch of Salt and ground black Pepper | ° Cherry Tomatoes | ° Side dishes : Broccoli – Sweet Corn – Caggabe – Mayonnaise – Chilli sauce | ° Oregano

Conchiglie2

Conchiglie3

Conchiglie9

Conchiglie8

Conchiglie6

Conchiglie10

Conchiglie4

Conchiglie5

Oh I love ‘my-lunch-is-done’ of my plate. For me it was artistic, taken by iPhone.

Conchiglie7

It happened again, TODAY.

Then my lunch today was the same food but I tweaked a bit. I used spaghetti instead of conchiglie, added chicken sausage, side dish were chips, lettuce and cherry tomatoes. Hmm, could you help me to find the name of the edible mushroom (see above, that beautiful brown one :)), I had no clue <— lazy to google it. It was a little surprise for me when my flatmate said that the taste of this Conchiglie Creamy Champignon was so close as creamy pasta that “Warung Itali” in Seminyak, Bali. One of the MOST delicious (and affordable) Italian food in Bali. I took lunch there this year, it wasn’t their Pasta, it was Lasagna. Will show you completely when I post my quick jaunt to Bali.

Conchiglie11

Conchiglie13

Spinaci Bolognese with Milky Mushroom Sauce, Roasted Chicken and Broccoli.

Spinaci Pasta
Spinaci Bolognese with Milky Mushroom Sauce. Served with Broccoli and Chicken.

Minggu lalu saya menemukan salah satu produk Barilla yang cukup unik. Dari kemasannya terpampang jelas warna pastanya hijau yang didapat dari salah satu bahannya : “Spinaci” atau Bayam dalam bahasa Indonesia. Yap, Pasta Bayam. Karena kemarin minggu saya membawa pulang tiga porselain culteries ,sekalian saja mengolah Spinaci Bolognese. Mari!

Pasta yang berbahan dasar gandum berpadu dengan bayam, kebayang bakal seperti apa rasanya?.

Sebenarnya saya hanya iseng mencomot Barilla Spinaci hanya karena penasaran dengan bentuk dan warnanya yang unik. Saya sendiri tidak mahir memasak masakan Italia. Bukan belum mahir sih, belum bisa lebih tepatnya. Jadi saya putuskan memasak bolognese ini dengan teknik fusion. Meski hanya coba-coba rasanya boleh dicoba, hihihi. Ini serius.

Saya bermain dengan jamur, ayam dan brokoli. Jamur sebagai salah satu bahan sausnya, ayam dan brokoli sebagai side dish-nya. Sebelum mengolah saus jamur dan side dish-nya, mari siapkan dulu bahan-bahannya :

Spinaci 1
Yeah! saya suka potret model beginian, just need a perfect late noon sun shine and captured then.
  • 5 buah pasta – Nah yang ini tergantung, jika bentuk pasta anda berbeda dari Barilla Spinaci saya, atur saja lah, create from your own. Yang penting ini takaran untuk satu porsi.
  • 5 bongkah kepala brokoli – Kok bahasanya tak enak didengar ya, hihihi. Saya yakin anda paham maksudnya.
  • Segenggam jamur tiram – anda bisa menggunakan jamur kancing jika suka.
  • 200 gr chicken fillet. 
  • 50 cc full cream milk.
  • 1 biji jeruk nipis untuk perasan ayam.
  • Bumbu : 4 siung bawang merah | 2 siung bawang putih | 2 biji cabe rawit | 1/2 sdt merica bubuk | sejumput garam dan gula| 1 sdt saus sambal, 5 sdm minyak zaitun untuk menumis, 1 sdm butter, 1 sdm mushroom sauce.Pelengkap : Daun bawang –anda bisa menambahkan Oregano atau Thyme.Green Pasta 8Spinaci 2

Mari memasak!

  • Kita awali dengan merebus pastanya. Seperti biasa, didihkan dulu air kemudian masukkan pasta, tambahkan sedikit garam dan minyak zaitun. Rebus hingga pasta matang, sisihkan.
  • Siapkan air panas di mangkuk yang berbeda untuk mematangkan brokoli. Saya sengaja mematangkannya secara terpisah, tak bersamaan dengan sausnya. Saya hanya merendam potongan brokoli didalam mangkuk berisi air panas sekitar 3 menit hingga brokoli cukup matang. Teknik mudah untuk mematangkannya tanpa merusak tekstur crunchy brokoli.Green Pasta 7
  • Alright, sekarang waktunya bikin saus. Siapkan pan yang sudah anda panasi, masukkan 1sdm butter biarkan meleleh. Kemudian masukkan bawang merah, bawang putih dan cabe rawit yang sudah dicincang kasar. Tambahkan 5 sdm minyak zaitun. Tumis hingga harum.
  • Tambahkan merica, garam dan gula. Masukkan susu, aduk hingga tercampur dengan bumbu tumisan tadi. Tambahkan saus cabe dan saus jamur. Terakhir masukkan jamur. Aduk hingga matang. Selesai!
  • Tinggal ayam yang belum diolah. Potong ayam memanjang, jangan terlalu tipis, kemudian taburi garam, merica bubuk, dan perasan jeruk nipis. Panaskan pan yang sudah dilumuri minyak zaitun, kemudian letakkan ayam. Karena saya menginginkan ayam garing di luar namun lembut di dalam, maka saya menggorengnya dengan teknik sauteing yang hanya membutuhkan minyak zaitun secukupnya. Oke semuanya matang, tinggal menyantapnya.
  • Saya menata pasta, saus, ayam dan brokoli diatas porcelain culteries yang baru saya beli kemarin, hihihi. It was so beautiful dish on the beautiful white porcelain i thought!. Nah cara makannya seperti biasa, hanya butuh mencampur pasta dengan sausnya. Kemudian makan dengan brokoli dan ayam. Jika suka, taburi pasta bayamnya dengan potongan daun bawang dan tomat ceri. Nyum nyum!Selamat mencoba!

Green Pasta 1

Green Pasta 5

Green Pasta 4

Green Pasta 9

Green Pasta 3

Green Pasta 2

Green Pasta 6

Juicy Broccoli and Chicken.

Juicy. Tasty. Easy.
Juicy. Tasty. Easy.

Perkawinan brokoli dan ayam, spontan.

Saya tak sengaja mencomot brokoli yang kedinginan di rak suatu supermarket di Victoria Island, Lagos. Melihat sekumpulan kepala brokoli yang hijau itu membuat saya memalingkan pandangan pada harga yang tertera di plastik yang membungkusnya. Ya, harga brokoli di Lagos selangit. Bukan hanya brokoli sih, harga sayuran-sayuran tertentu kadang tak masuk akal jika dirupiahkan. Contohnya kembang kol beberapa kali lipat dibanding brokoli, jika dirupiahkan sekilo bisa mencapai dua ribu naira alias 120 ribu rupiah! Gila ya! Di Indonesia saya bisa mendapat segepok dengan harga hanya lima ribu. Lah daripada saya memilih kembang kol, mending brokoli lah. Apalagi gizinya jelas-jelas menang brokoli. <— kok jadi ribut soal harga dan gizi, hehehe.

Okay, mari kembali ke inti postingan.

Sepanjang perjalanan pulang saya berpikir mau diapakan brokoli yang saya comot tadi. Dikukus? saya tak punya keju yang bisa layu diatas dan berubah creamy. Disup? Tak cukup waktu dan kesabaran, karena sudah terlalu sore. Sesampainya dirumah, saya putuskan memasak brokolinya begini, sebentar …siapkan dulu bahan-bahannya :

* 2 potong dada ayam – belah masing-masing menjadi dua.

* 250 gram brokoli – potong dan cuci bersih.

* 1 buah lemon ukuran sedang.

* 6 siung bawang merah.

* 4 siung bawang putih.

* 6 biji cabe rawit.

* 2 sdm saus tomat.

* Kecap asin secukupnya.

* 2 sdt saus sambal.

* 6 buah tomat ceri.

* 1 buah jeruk nipis.

* 3 sdm minyak zaitun untuk menumis.

* Garam, merica bubuk, gula dan nutmeg – yang ini kira-kira saja hehehe.

Okay, tahapan masaknya begini :

* Belah dada ayam menjadi dua bagian dan melumurinya dengan campuran garam, merica, perasan jeruk lemon dan jeruk nipis, dan sedikit nutmeg.

* Panaskan teflon, tuang minyak zaitun dan biarkan ayam tadi setengah matang, kira-kira butuh lima hingga tujuh menit. Bolak-balik seperlunya saja. Saya mengingikan tekstur ayam yang sedikit renyah di luar dan lembut di dalam. Memasaknya dengan sedikit minyak adalah salah satu cara saya mengurangi olahan ayam deep-fried.

* Setelah ayam matang, sisihkan. Mari ke tahapan berikutnya, membuat saus.

* Mulai dengan menumis bawang merah dan bawang putih hingga harum. Masukkan ayam kemudian tambahkan merica, sejumput gula dan garam. Pastikan ayam dan bumbu dasar ini rata dulu. Setelahnya, tambahkan air secukupnya.

* Masukkan dua sendok makan saus tomat, dua sendok saus sambal dan kecap asin secukupnya. Jaga agar air yang anda tambahkan sebelumnya tak asat. Kemudian masukkan potongan cabe rawit, tomat ceri, brokoli dan terakhir perasan lemon. Aduk rata dan tunggu kira-kira 2 menit kemudain angkat.

Tarra! Brokolinya siap disantap! Ah, saya mendadak lapar.


Satu hal yang saya suka adalah tekstur brokoli yang masih renyah! nyum!
Mendadak lapar, hehehe.

Accidental Recipe

Accidental Recipe.
Accidental Recipe.

I made a mistake with my cooking and I thought that was an embarrassing and terrible moment, but wait! As you know, It could be a moment you could create a new recipe if you use your sense of creativity!

Alright fellas, this is the story. That night I was so so damn tired reached flat at 9pm after a looong day but at the same time my tummy wanted a fill up. I had the urge to make something a bit special and so I chose to make meat ball soup. I searched through my kitchen to find ingredients that I needed to make my desired recipe.

I found beef meat and eggs in my fridge, flour and spices on my spice shelf. I used my blender to mince the beef, put the minced meat in a bowl with 3 eggs and kneaded the mixture. Then I added my spices – salt, white ground pepper, minced garlic, pinch of sugar for taste, and coriander as well. Then, I poured water into it. It seemed to be going fine, but then, I had this scary feeling that I might have added more water than I should have. Damn! my meat dough was too watery, soft. In my panic I decided that I had to put more maize or starch in my ‘too-soft’ dough and wished that it would make it all better.

But I was unlucky. My dough was still soft even after I added so much starch. I decided to go ahead and start molding my dough using 2 spoons and put them into pan full of boiling water. I wished that the meat balls would be floating after 5 until 10 minutes – a good sign that they are well done. Needless to say, I was disappointed when I saw that meat balls didn’t float. Then I decided not to give up and I chose to put my meat ball dough in the fridge overnight. But I still had 1 loud question in my head, how about my tummy? There was nothing I could do at this point, so I went to bedroom hungry. I was so upset really.

So, the next day, when I opened fridge, I saw my meat ball dough, and was still thinking of cooking again. While my dough became harder after being chilled, I took my pan, poured vegetable oil and Yes! I did! I fried the meat balls!!! And you know what? I tasted them, and seriously, they were really good. What a delightful surprise!

Then I remembered that I had tofu, chicken fillet, and paprikas. Without thinking twice I took garlic, onion, chillies, the basic spices I always for cook with. Then:

Step to step!
Step to step!
The last thing I did, paprikas! Lovely colors!

;

* I poured some vegetable oil about two tablespoons and let it heat up enough so I could stir-fry my basic spices. Onion and garlic first, then, I added chillies. I stir fried for just 5 minutes – my basic spices smelled good. Then I stirred in the chillies and let them fry for 2 minutes.

* I added cubes of tofu and stir-fried for 3-5 minutes, poured in 2 tablespoon of tomato sauce, 1 tablespoon of chilli sauce, and small water.

* Next step? I added black pepper, salt, pinch of sugar for sure *wink* my little secret*, and nutmeg.

* I fried chicken fillet before and I added them along with the fried meat balls. I let them mix for about 5 minutes and then I added soya sauce – put as much as you like. And for more flavour and colour, I cut some paprikas. I made sure I reduced the heat on my pan of meat balls while I was cutting the paprika. I didnt want my sauce to get dry. The last thing I did was spinkle some paprika to give more spicylicious taste and because I love red and orange colour of paprika.

Tarra! Feast your eyes on this accidental but perfect recipe on my sushi plate. I thought it would be prettier if I had sesame seeds and fresh leeks sprinkled on top of my freshly cooked meal.

Nyum nyum nyum, spicylicious!
That is the fried meat balls!
Can you see the chicken? O gosh it makes me hungry immediately!
Tofuuu!
Tofuuu!

;

I need to name this dish, any ideas? I keep thinking…hehehe…

O yeah, do not ever be nervous fellas if you make a mistake in cooking fellas, just relax be adventurous and think about creating something else and let your creativity work!!!

;

Cheers,

Azis.